Haz clic en Gestionar Conjuntos de Vales y serás dirigido a la página principal de Conjuntos de Vales. Lo primero que verás será una lista con todos los conjuntos de vales actuales.
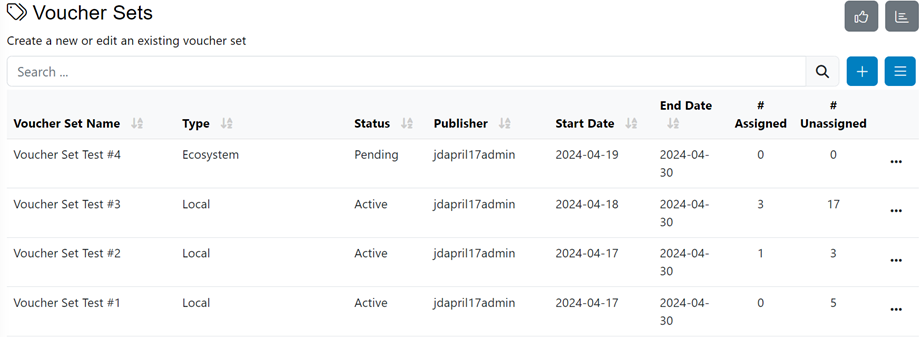
- La columna Nombre muestra el nombre real del conjunto de vales.
- La columna Tipo muestra la categoría del conjunto de vales.
- La columna Estado muestra si el conjunto de vales está Activo o Pendiente de ser activado.
- La columna Editor muestra el nombre del usuario/admin que ha creado el conjunto de vales.
- La Fecha de Inicio es cuando los códigos de vales comenzarán a estar disponibles para su distribución a los usuarios finales.
- La Fecha de Finalización es cuando los códigos de vales dejarán de estar disponibles para su distribución a los usuarios finales (generalmente coincide con la fecha de expiración de los códigos de vales).
- La columna # Asignados muestra el número de vales asignados a los usuarios.
- La columna # No Asignados muestra el número de vales disponibles para asignación.
Para Buscar vales existentes, escribe el nombre del conjunto de vales o una parte del nombre en el campo de búsqueda y haz clic en el botón de Buscar.

Los resultados serán mostrados abajo:

Para ver todos los conjuntos de vales nuevamente, haz clic en la Lupa a la derecha de la barra de búsqueda.
Crear un nuevo conjunto de vales
Local Voucher Set
Los **Conjuntos de Vales** son útiles para cargar y gestionar “grupos de códigos de vales”. Una vez disponibles desde un conjunto de vales, los códigos de vales pueden ser asignados a socios de nivel inferior y/o distribuidos a tus usuarios internos utilizando la funcionalidad de **Campañas de Vales**.
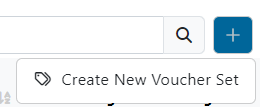
Para crear un nuevo Conjunto de Vales, haz clic en el botón de [ + ] en la esquina superior derecha de la pantalla y luego haz clic en Crear Nuevo Conjunto de Vales.
Create Tab
Completa la información requerida.
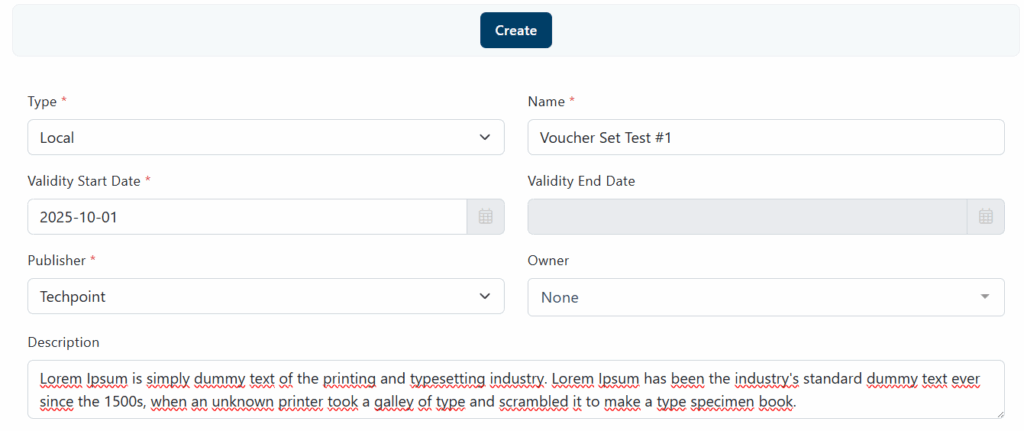
- Select the Tipo of the Voucher Set:
- Local Vouchers allows you to create a set of vouchers that can be assigned to internal groups and/or users within your organization.
- Ecosystem Vouchers allows you to create a set of vouchers that can be assigned to users outside of your organization (e.g. partners, customers…).
- Write the Nombre of the Voucher Set you are setting up.
- Select Validity Start Date, meaning when vouchers will start being available and distributed to end-users
- Select Validity End Date, meaning when vouchers will stop being distributed to end-users
- Selecciona el Editor del Conjunto de Vales.
- Set the voucher Owner.
- Escriba una descripción del conjunto de vales si es necesario
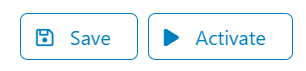
- Haz clic en Guardar.
After clicking on the Guardar button, you will see a new tab:

Upload Tab
En la pestaña Cargar podrá añadir nuevos códigos de vale al conjunto de vales.
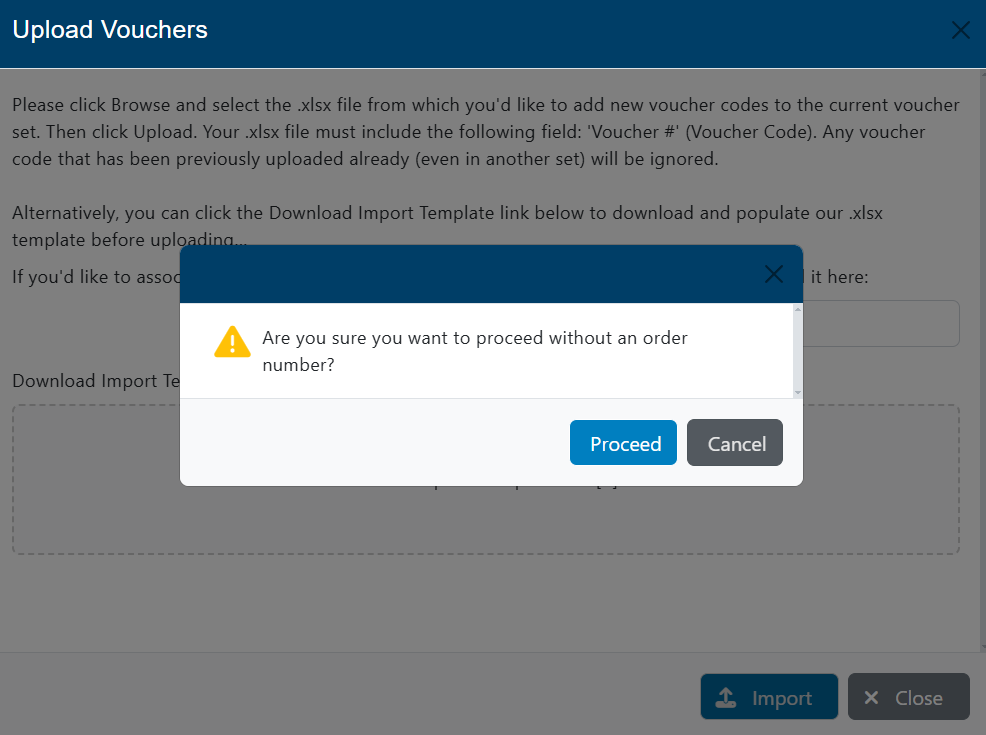
Click Browse and select the .xlsx file from which you’d like to add new voucher codes to the current voucher set. Then click Upload. Your .xlsx file must include the following field: ‘Voucher #’ (Voucher Code). Any voucher code that has been previously uploaded already (even in another set) will be ignored.
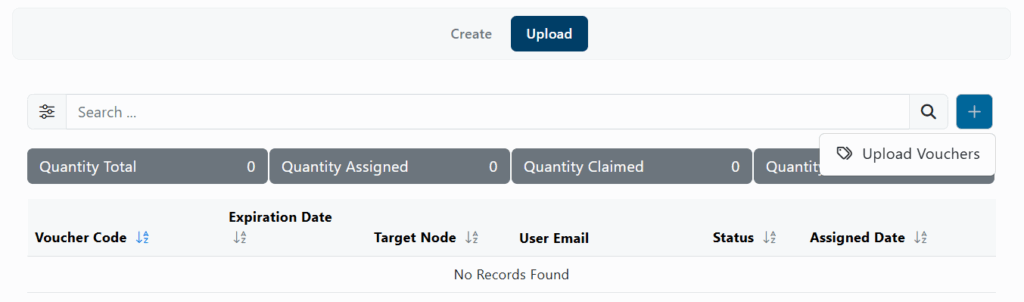
Haga clic en el botón más y, a continuación, en Cargar vales.
Aparecerá una nueva ventana emergente en la que podrá cargar un archivo Excel con los códigos de vouchers que se asignarán a los usuarios.
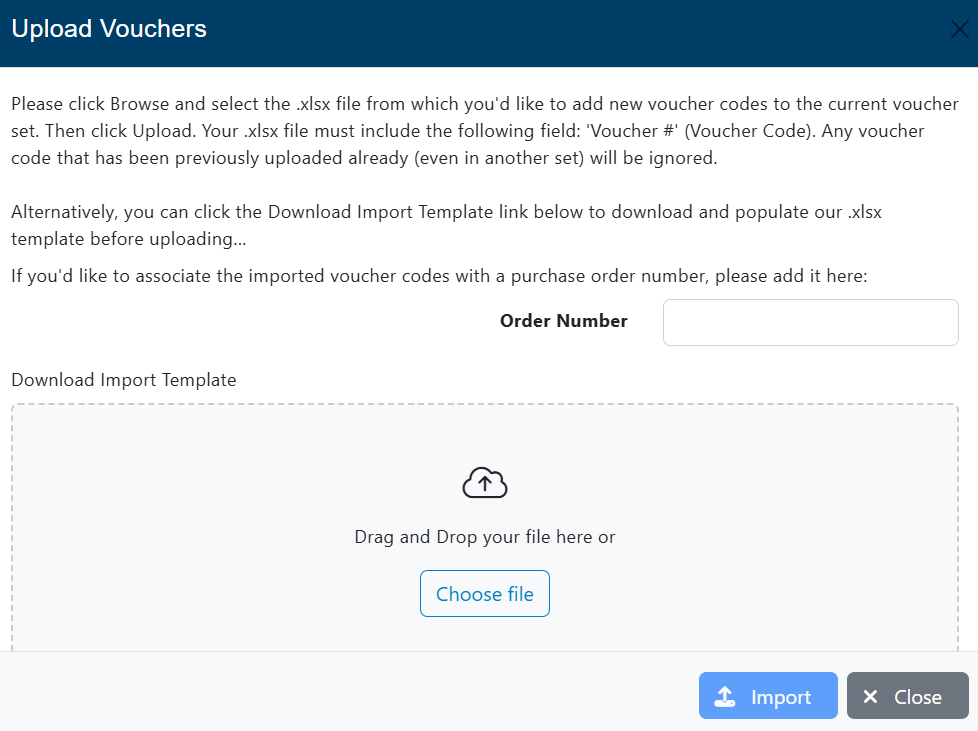
Haga clic en Browse… if you already have an existing file, otherwise click on Download Import Template, and open the Import Template in Excel to fill-in the list of Vouchers for the Voucher Set. Make sure to keep the first cell (A1) called “Voucher #” (this is the field header).
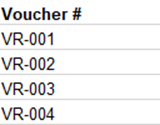
Save the document and close it. Return to the pop-up window, select your file and click on Upload.
If everything is fine, a confirmation message will appear telling you that the vouchers have been successfully uploaded.

Cierre la ventana emergente y ahora debería ver los Códigos de Vouchers en la lista.
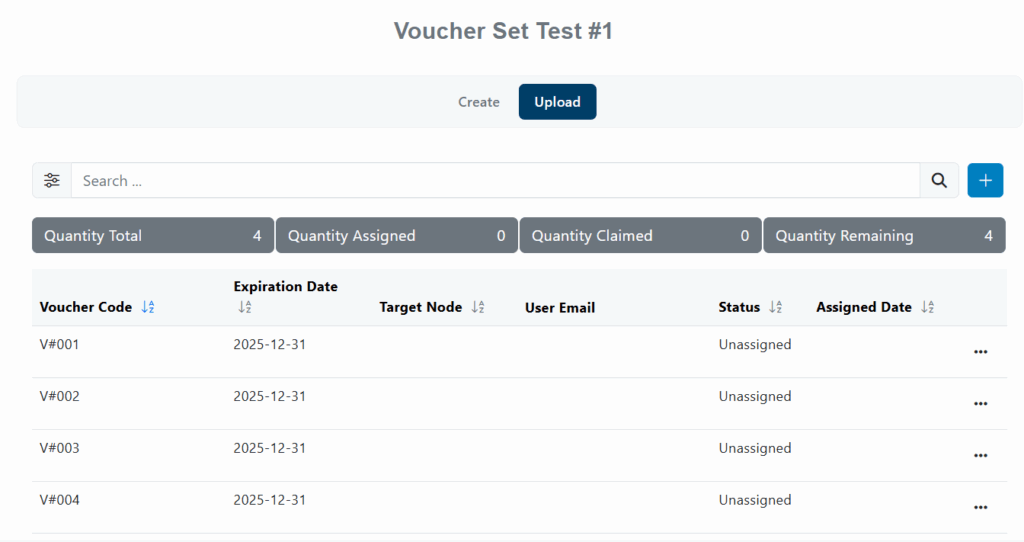
Voucher numbers should appear under the Vouchers column along with the following blank columns: “Expiration Date,” “Target Node,” “User Email”, “Estado” and “Assigned Date“. The columns are blank as the status of the Vouchers are unassigned. These fields will be filled when the vouchers are assigned to the users.
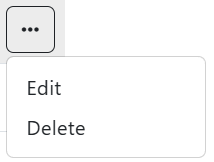
You can also edit or delete the voucher code added to the list using the three dots option.
Activar
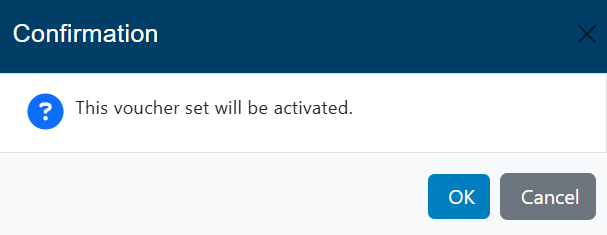
Once the set of vouchers has been configured, click on activate and confirm.
Back to the Voucher Sets main menu, you will be able to see all vouchers created to date with their corresponding status.
Through the three dots option, you can:
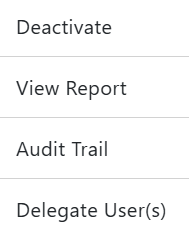
- Desactivar: Click on Desactivar to disable the Voucher Set if it is activated. This will prevent users from receiving the vouchers contained in a particular Voucher Set. After clicking on Deactivate, the status of the Voucher Set will change to Pending.
- View Report: Clicking on View Report will direct you to the Voucher Set Dashboard of the selected Voucher Set. You will be able to see the Voucher’s reports and data. This section will be explained later. To return to the Voucher Sets main page, click on the inicio icon on the top right corner.
- Audit Trial: This section allows users to review the history of each voucher code, including its status, expiration date, and recorded actions (such as creation or assignment). It provides clear tracking and control of all issued vouchers within the platform.
- Delegate Users: You can delegate the management to other node user(s) by adding them to the below delegation list. Assigning them as ‘Managers’ will give them full accesss, including editing, archiving, launching, etc. Alternatively, you may want to give them access to the ‘Reporting’ only.
Ecosystem Voucher Set
La columna Allocate tab allows you to distribute quantity-based vouchers to different nodes connected to your organization.
Nota: Remember that this tab will be enabled only if the voucher set is ecosystem type.
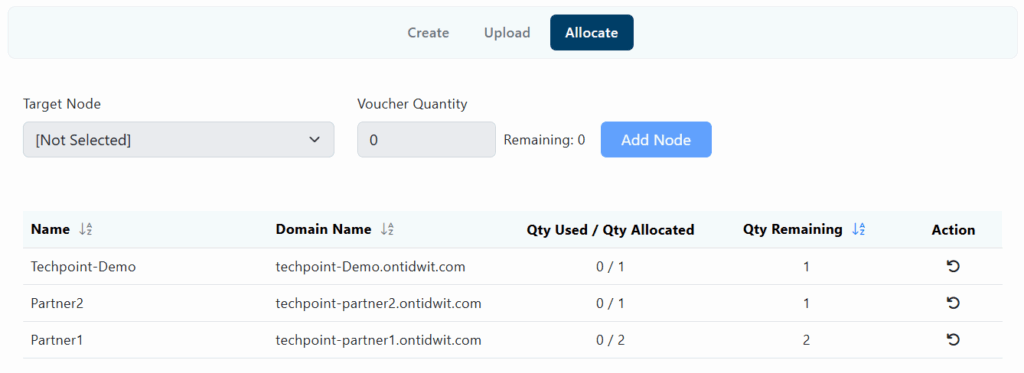
- Target Node allows you to select the node to which you want to assign a certain number of vouchers
- Voucher Quantity is the number of vouchers to be assigned
- Remaining is the number of available vouchers
Once the vouchers have been distributed, they will be listed in the table below.