
Learning Campaigns (Local Campaign)
To create a new Local Campaign, click on [+] plus button on the upper right corner of the screen then click on Create New Learning Campaign. A modal will be displayed.
Complete la información requerida.
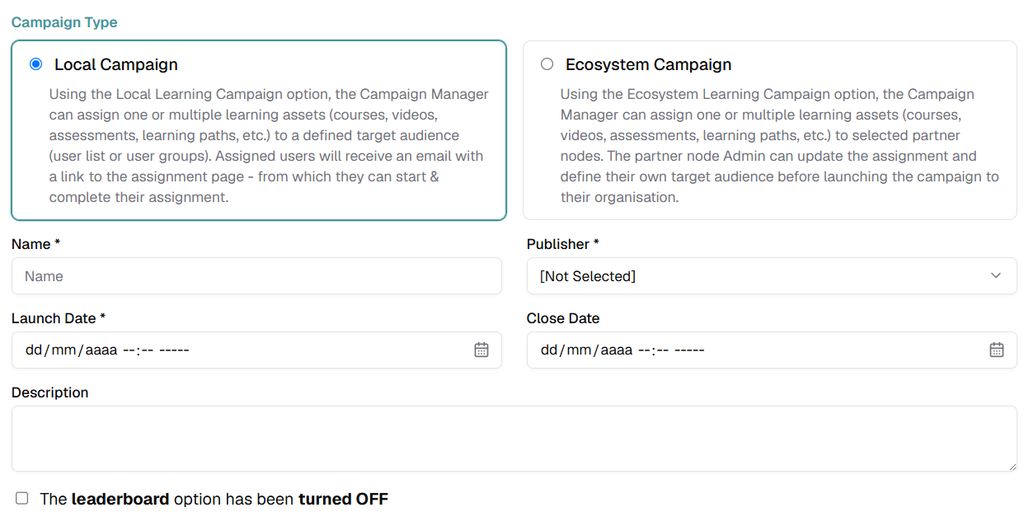

- Campaign Type: Choose Local Campaign from the drop-down menu (this option allows you to assign a bunch of learning assets to a group of users, and track progress/completion).
- Escriba el nombre que desea dar a la campaña.
- Escriba una descripción para la campaña (opcional).
- Select the Launch Date, to define when the user shall be notified – until then, the campaign status will show as “Scheduled to launch…”
- Select the Close Date when the system will stop tracking the campaign.
- Enable o disable the campaign leaderboard (Nota: If the leaderboard is enabled the Close Date now is required). Enabling the leaderboard will help you gamify the campaign, by adding a count-down and a leaderboard table (with most engaged users) on top of the campaign landing page.
- Select the Campaign Access Options according to your needs:
Abrir: Any user with the link can access and enroll the campaign.
Restricted: Only target users can access and enroll the campaign (via email or under my activities).
In the drop-down menus select the templates for the Iniciar email and for the Reminder email. Then click on Save. Email templates can be created and edited separately using the “Email Templates” application (refer to the corresponding user guide).

Haga clic en el botón Guardar .
After clicking on the Guardar button two new tabs will appear Content e Target Audience.

Pestaña de contenido
Haga clic en la opción Content tab, it allows you to add content to your Campaign, like: Learning Pats, Content Items and Bundles.
Nota: Asegúrate de que el estado del contenido que estás añadiendo sea “Publicado”.
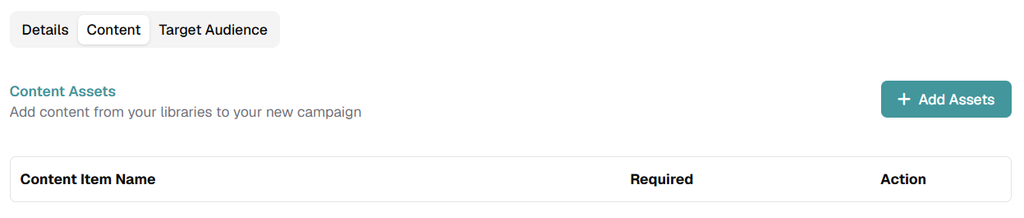
Haga clic en la opción + Add Assets button and select the type of content you want to add to the campaign (For this example, we will add Content Items).
Se abrirá una nueva ventana.
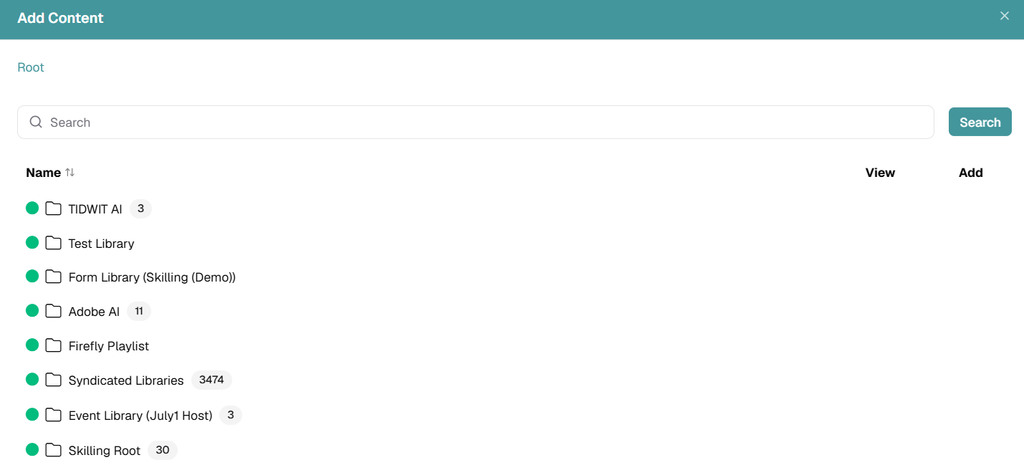
You can navigate through all the available libraries. Also, you can find any content using the Search Bar. Click on the plus [ + ] button to add content one by one or click on the + Add All button to add all the available content.
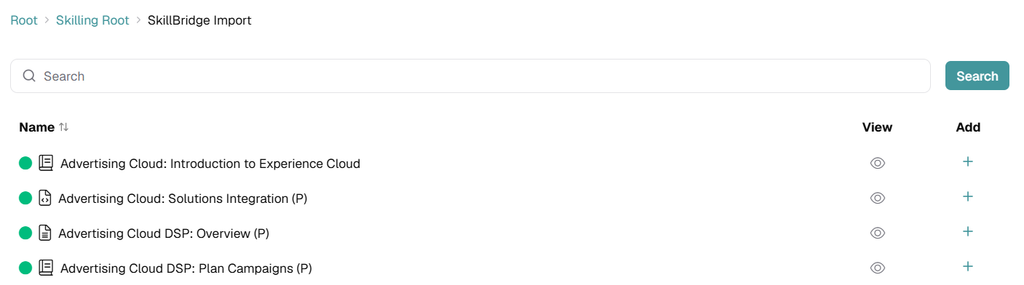
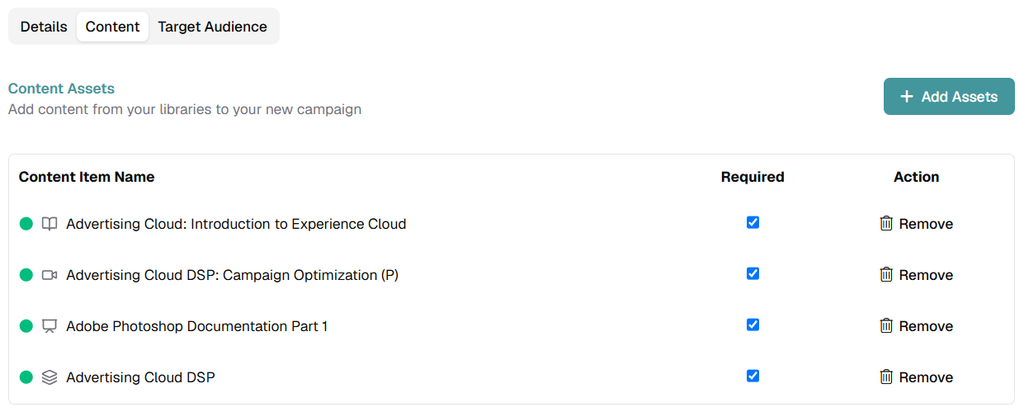
After adding one or multiple assets, close the window. You will see the list of campaign assets; you can define if the content is required or not (only required assets will be considered for the completion of the assignment). You can also remove any asset, if necessary, by clicking the remove button.
Haga clic en el botón Guardar .
Pestaña Audiencia
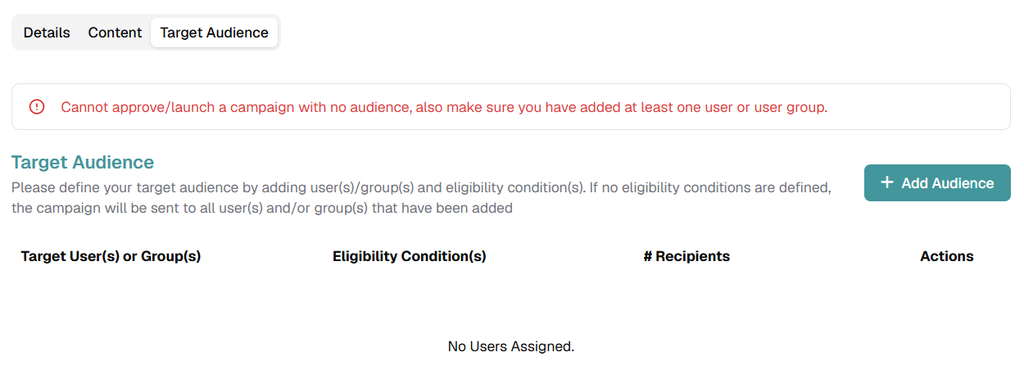
En esta pestaña puede definir las diferentes condiciones, usuarios o grupos de usuarios que podrán acceder a la campaña.
Set Audience
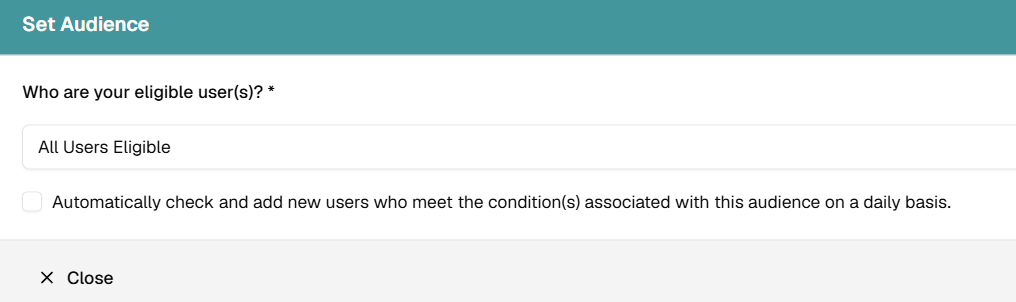
- All Users Eligible: The campaign will be sent to all users and will be accessible for everyone.
- Only specific user(s) are eligible: The campaign will be sent to all users and can be accessed by selected users.
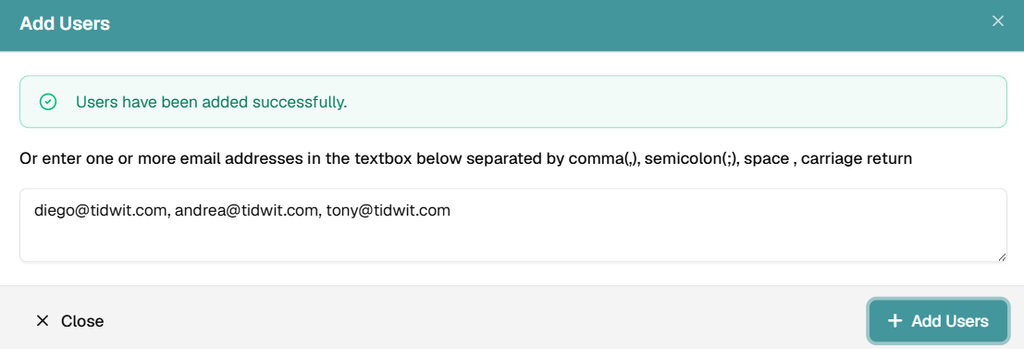
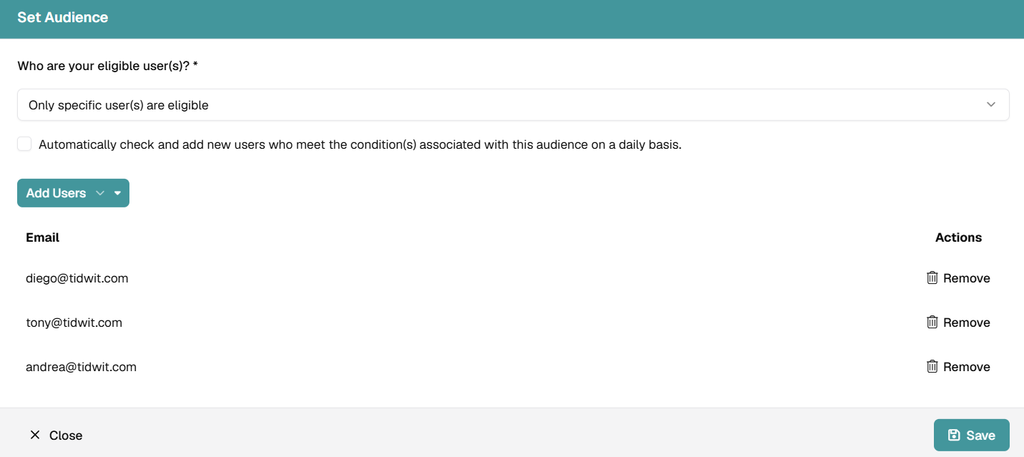
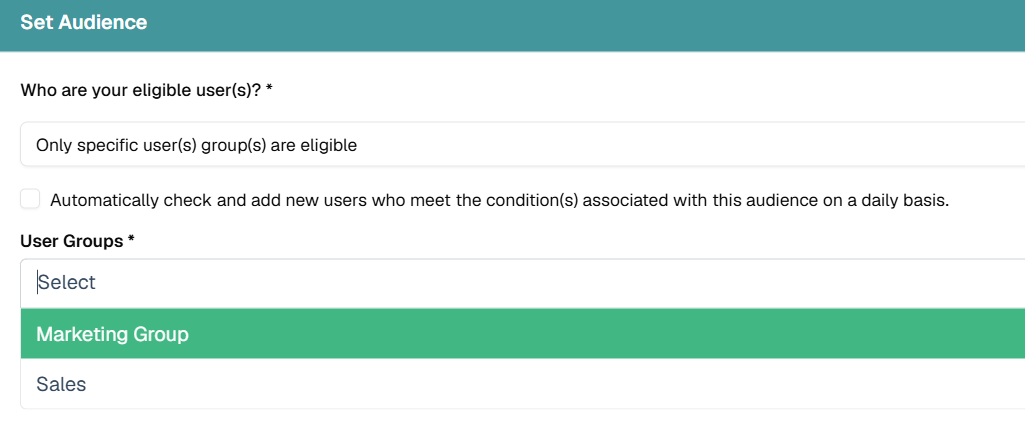
- Only specific user(s) group(s) are eligible: The campaign will be sent to all users and can be accessed by selected user groups.
Conditions
Envíe la campaña a los usuarios que cumplan determinadas condiciones:

Click on the + Add Condition(s) link and a new modal will be displayed.
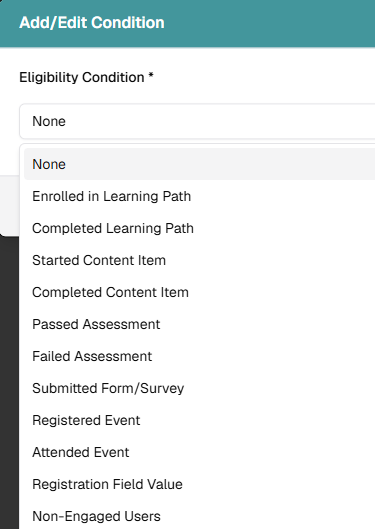
Select the condition and the required asset for the campaign.
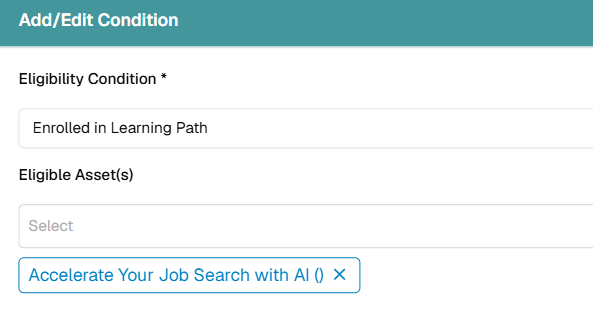
After selecting the condition and eligible users, click Guardar and the campaign will be ready to launch.
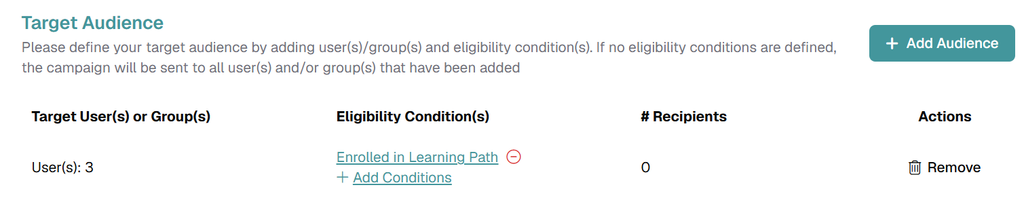
Nota: You can add as many conditions as needed.
Enviar correo electrónico de prueba
To test your learning campaign before launching. return to the Details tab and scroll down to the Enviar correo electrónico de prueba .
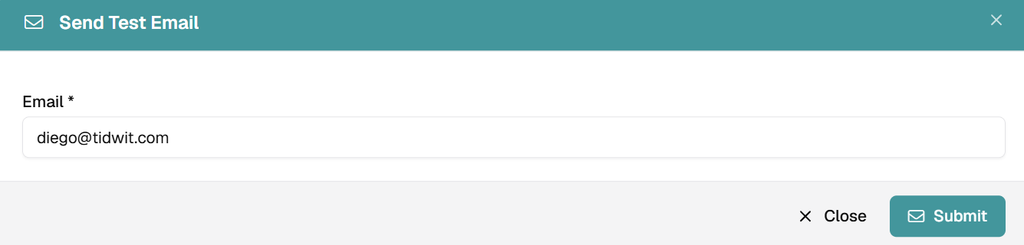
Escriba la dirección de correo electrónico a la que desea enviar el correo de prueba y haga clic en Enviar..
Compruebe que ha recibido el correo electrónico de prueba como es debido.
Launch the Campaign
Pulsa el botón Lanzar y confirma.
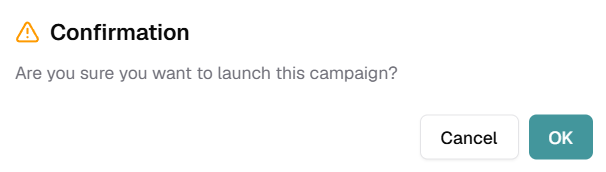
The campaign will now be activated, and the users will be notified (via email and messaging center) according to the selected launch date.