Click on the Manage Vouchers Sets and you will be directed to the Voucher Sets main page. The first thing you will see is a list of all the current Voucher Sets:
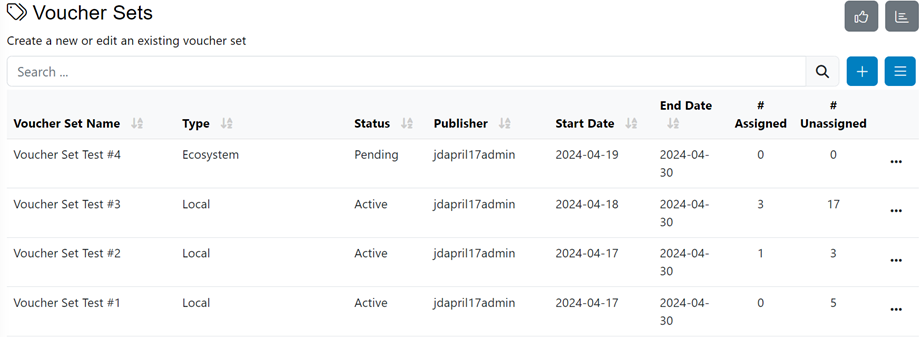
- The Name column shows the actual name of the voucher set.
- The Type column shows the voucher set category.
- The Status column shows if the Voucher Set is Active or Pending to be activated.
- The Publisher shows the name of the user/admin who has created the voucher set.
- The Start Date is when the voucher codes will start being available for distribution to end-users.
- The End Date is when the voucher codes will stop being available for distribution to end-users (usually matches the voucher codes expiration date).
- The # Assigned column shows the number voucher assigned to users.
- The # Unassigned column shows the number of vouchers available for assignment.
To Search for existing vouchers, type the name of the voucher set, or a part of the name, on the search bar input field and click on the Search button.

The results will be shown below:

To view all voucher sets again, click on the Magnifier right of to the search bar.
Creating a new voucher set
Local Voucher Set
Voucher Sets are useful to upload and manage “pools of voucher codes”. Once available from a Voucher Set, voucher codes can be allocated to downstream partners and/or distributed to your internal users using the Voucher Campaign functionality.
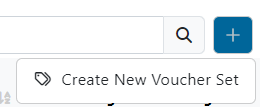
To create a new Voucher Set, click on [ + ] plus button on the upper right corner of the screen then click on Create New Voucher Set.
Create Tab
Fill in required information.
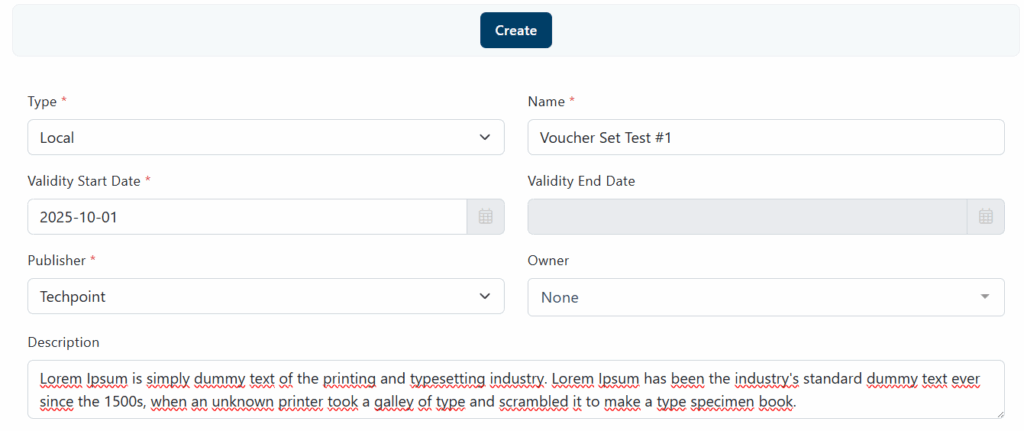
- Select the Type of the Voucher Set:
- Local Vouchers allows you to create a set of vouchers that can be assigned to internal groups and/or users within your organization.
- Ecosystem Vouchers allows you to create a set of vouchers that can be assigned to users outside of your organization (e.g. partners, customers…).
- Write the Name of the Voucher Set you are setting up.
- Select Validity Start Date, meaning when vouchers will start being available and distributed to end-users
- Select Validity End Date, meaning when vouchers will stop being distributed to end-users
- Select the Voucher Set’s Publisher
- Set the voucher Owner.
- Write a description of the Voucher Set if needed
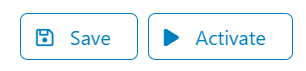
- Click on Save
After clicking on the Save button, you will see a new tab:

Upload Tab
In the Upload tab you will be able to add new voucher codes to the voucher set.
Click Browse and select the .xlsx file from which you’d like to add new voucher codes to the current voucher set. Then click Upload. Your .xlsx file must include the following field: ‘Voucher #’ (Voucher Code). Any voucher code that has been previously uploaded already (even in another set) will be ignored.
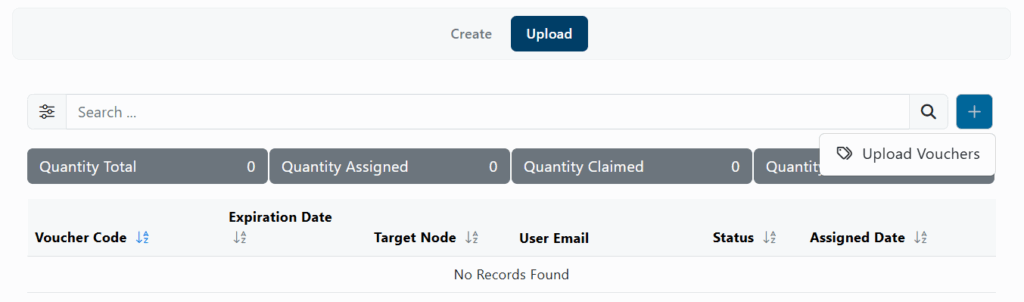
Click on the plus button and then click on Upload Vouchers.
A new pop-up window will appear where you will be able to upload an Excel file with the voucher codes that will be assigned to the users.
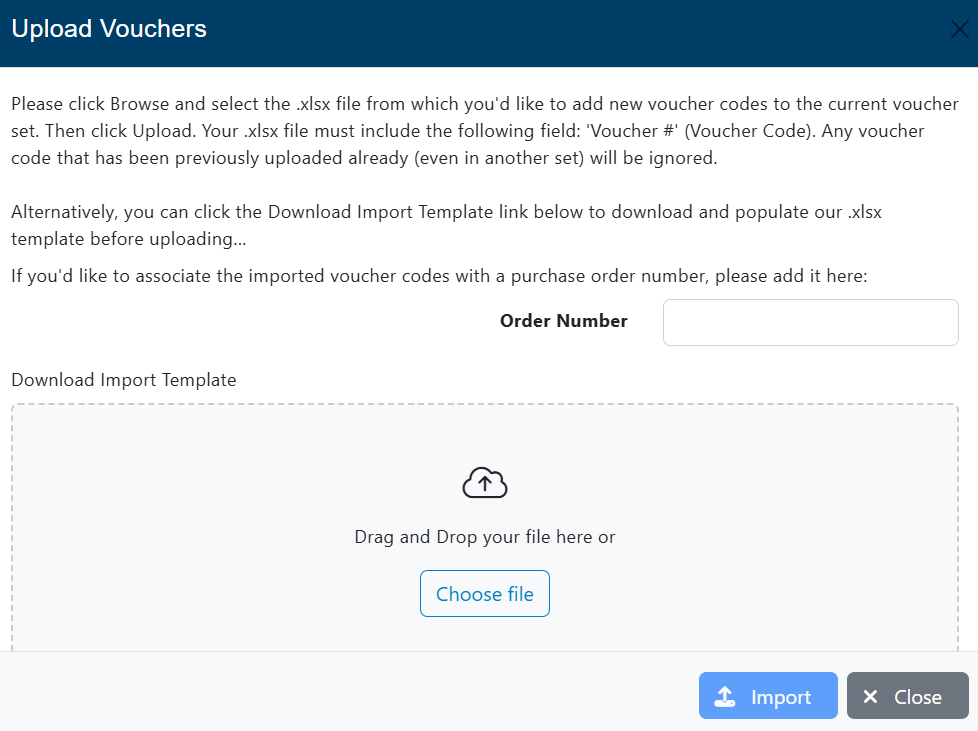
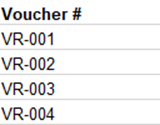
Click on Browse… if you already have an existing file, otherwise click on Download Import Template, and open the Import Template in Excel to fill-in the list of Vouchers for the Voucher Set. Make sure to keep the first cell (A1) called “Voucher #” (this is the field header).
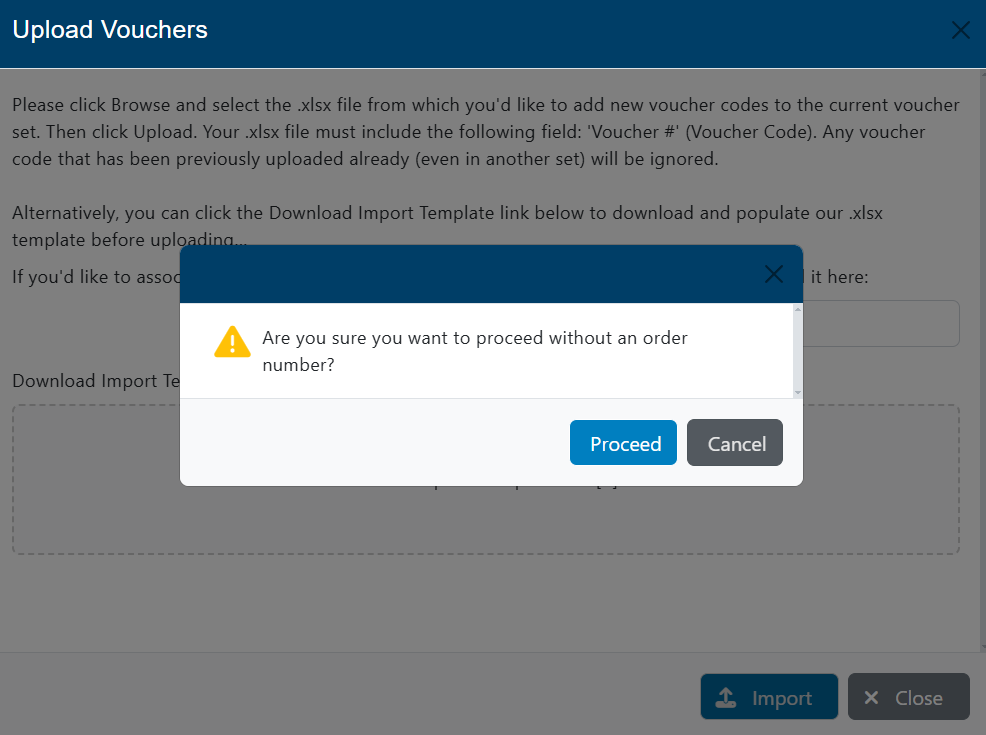
Save the document and close it. Return to the pop-up window, select your file and click on Upload.
If everything is fine, a confirmation message will appear telling you that the vouchers have been successfully uploaded.

Close the pop-up window and now you should see the Voucher Codes on the list.
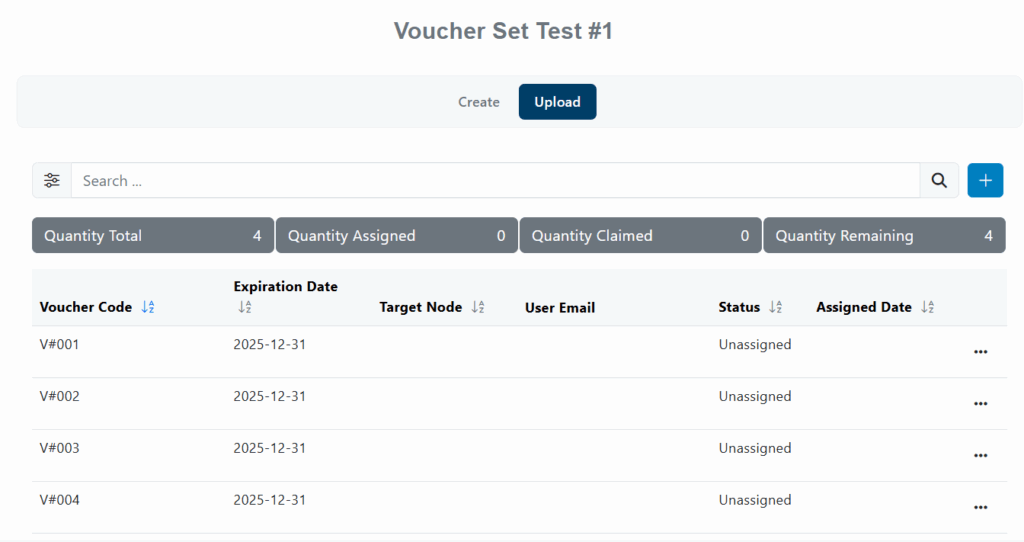
Voucher numbers should appear under the Vouchers column along with the following blank columns: “Expiration Date,” “Target Node,” “User Email”, “Status” and “Assigned Date“. The columns are blank as the status of the Vouchers are unassigned. These fields will be filled when the vouchers are assigned to the users.
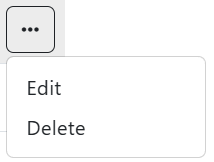
You can also edit or delete the voucher code added to the list using the three dots option.
Activate
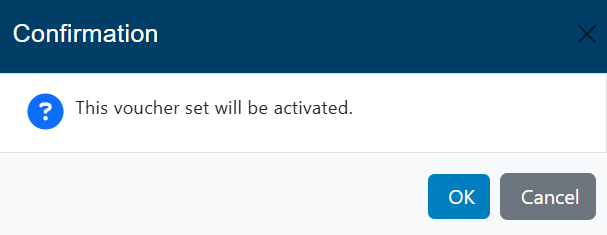
Once the set of vouchers has been configured, click on activate and confirm.
Back to the Voucher Sets main menu, you will be able to see all vouchers created to date with their corresponding status.
Through the three dots option, you can:
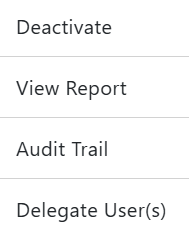
- Deactivate: Click on Deactivate to disable the Voucher Set if it is activated. This will prevent users from receiving the vouchers contained in a particular Voucher Set. After clicking on Deactivate, the status of the Voucher Set will change to Pending.
- View Report: Clicking on View Report will direct you to the Voucher Set Dashboard of the selected Voucher Set. You will be able to see the Voucher’s reports and data. This section will be explained later. To return to the Voucher Sets main page, click on the home icon on the top right corner.
- Audit Trial: This section allows users to review the history of each voucher code, including its status, expiration date, and recorded actions (such as creation or assignment). It provides clear tracking and control of all issued vouchers within the platform.
- Delegate Users: You can delegate the management to other node user(s) by adding them to the below delegation list. Assigning them as ‘Managers’ will give them full accesss, including editing, archiving, launching, etc. Alternatively, you may want to give them access to the ‘Reporting’ only.
Ecosystem Voucher Set
The Allocate tab allows you to distribute quantity-based vouchers to different nodes connected to your organization.
Note: Remember that this tab will be enabled only if the voucher set is ecosystem type.
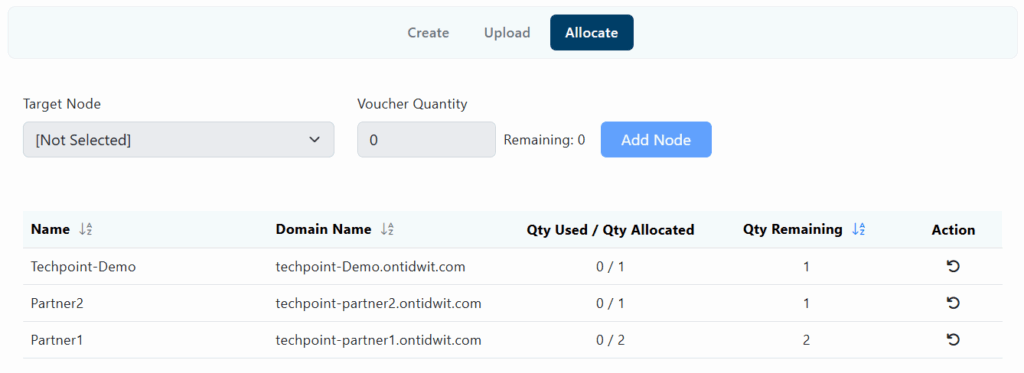
- Target Node allows you to select the node to which you want to assign a certain number of vouchers
- Voucher Quantity is the number of vouchers to be assigned
- Remaining is the number of available vouchers
Once the vouchers have been distributed, they will be listed in the table below.