To access more workspaces features, click on the three-dots option.
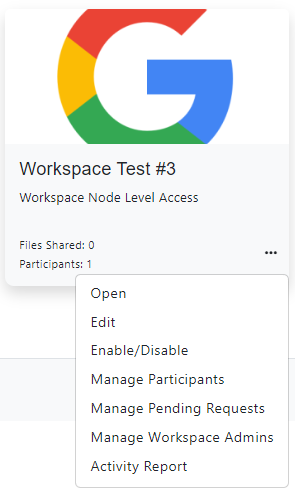
These features consist of the following options:
Workspace: Open
Allows you to explore and navigate the workspace, once you have clicked on it, you can feed your workspace with different types of content through the following options:
- Add Folder
- Upload File
- Upload Folder
Add Folder
On the upper right corner of the screen place the mouse over the [ + ] plus icon, then click on the Add Folder option.

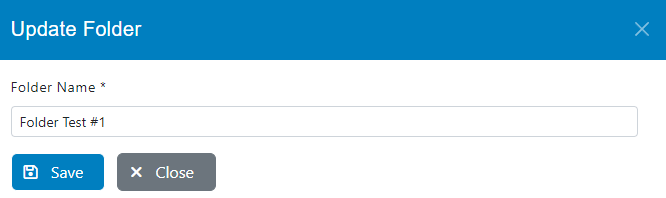
A new window will appear in which you have to set the folder name and then click the Save button.
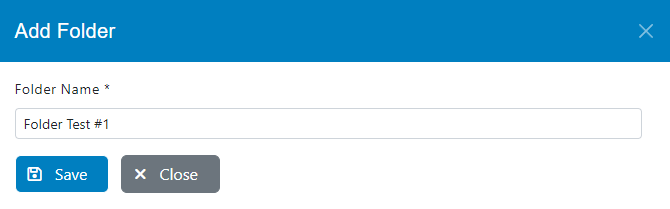
Click the Close button and the folder will be created right away.
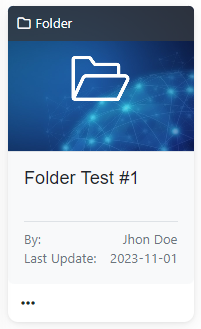
You will see a brief description in the folder:
- By (Author or Publisher).
- Last Update.
Click the three-dots to see more options:
- Edit: Allows you to change the folder name.
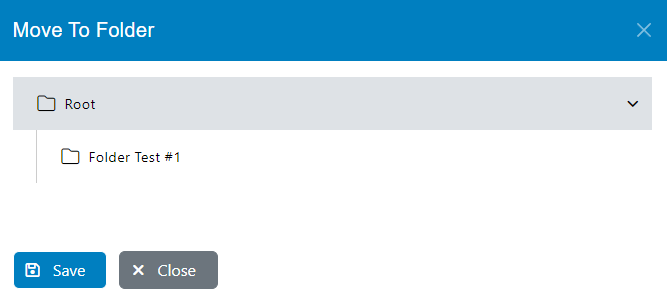
- Move: Allows you to change the folder source path.
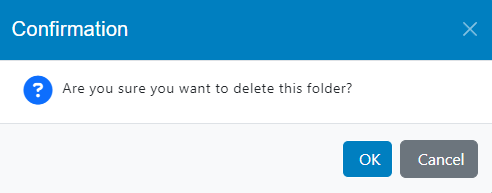
- Delete: Allows you to remove the folder from your workspace (This action cannot be reversed).
Upload File
On the upper right corner of the screen place the mouse over the [ + ] plus icon, then click on the Upload File option.

A new window will appear in which you have to upload the file using the drag and drop functionality or clicking the browse button.
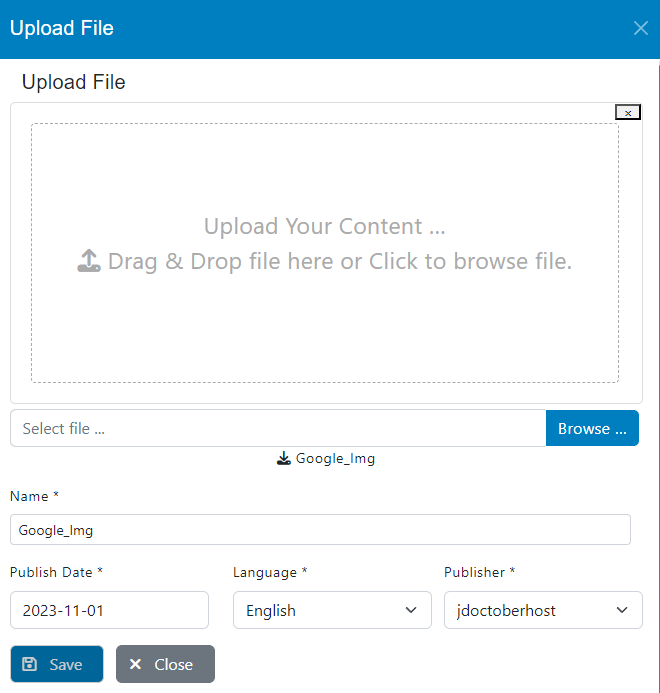
Once you have uploaded the file set the name, publish date, language and publisher, then click the Save button.
Click the Close button and the file will be created right away.
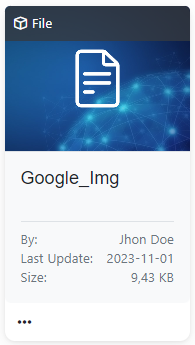
You will see a brief description in the file:
- By (Author or Publisher)
- Last Update
- Size
Click the three-dots to see more options:
- Edit: change the file name, publish date, language, and/or publisher
- Delete: delete the file from your workspace (this action cannot be reversed)
- Move: move file under another folder
- Preview: open file in preview mode in your web browser (new tab)
- Download: download file on your system
Upload Folder
On the upper right corner of the screen place the mouse over the [ + ] plus icon, then click on the Upload Folder option.

A new window will appear in which you have to upload the folder(s) using the drag and drop functionality.
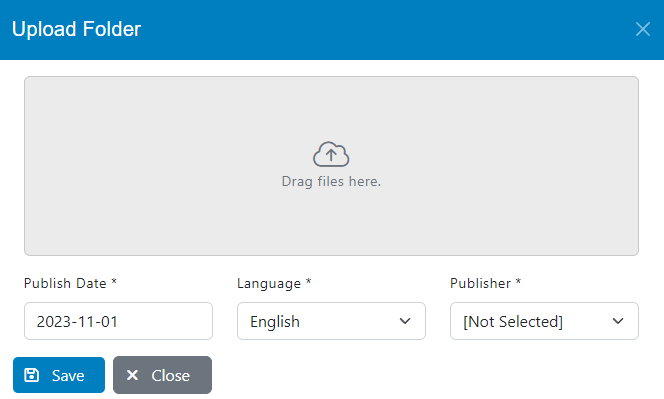
Once you have uploaded the folder(s) set the publish date, language and publisher, then click the Save button.
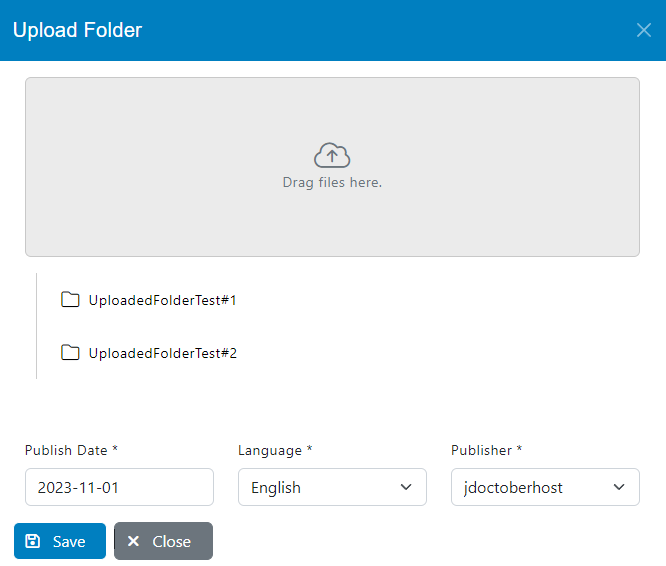
Click the Close button and the corresponding folder(s) will be uploaded right away.
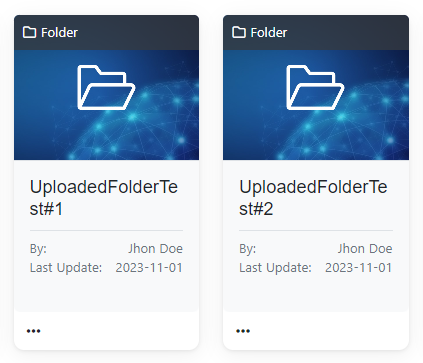
Click the three-dots to access more folder options: Edit, Delete, Move.
Workspace Edit
You can modify the information you have added to your workspace, such as Name, Access Level, Description and Thumbnail.
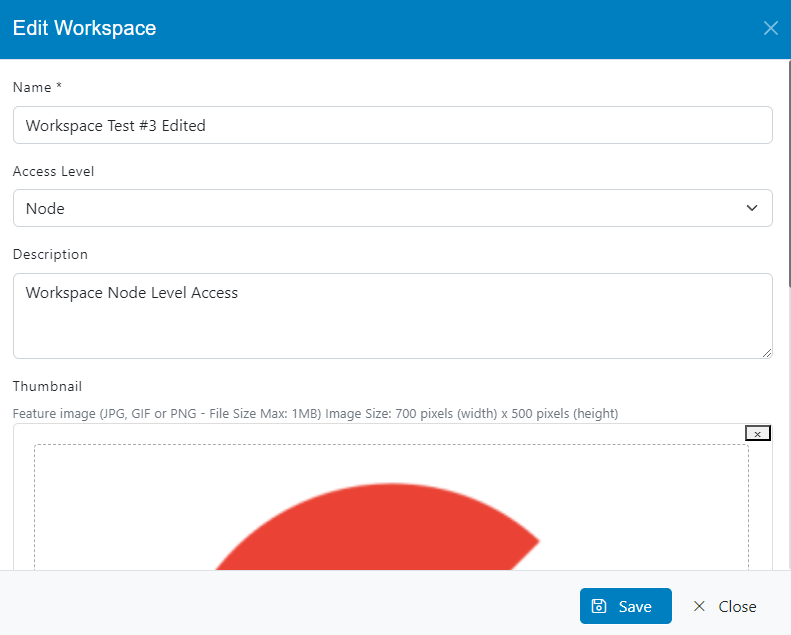
Click the Save button and close the wizard.
Workspace: Enable/Disable
You can manage your workspace by enabling and disabling them according to your needs. Disabled workspace(s) are no longer accessible to node users.
To access the disabled workspaces, click the filter button next to the search and change the status to “Inactive“, then click on Apply.
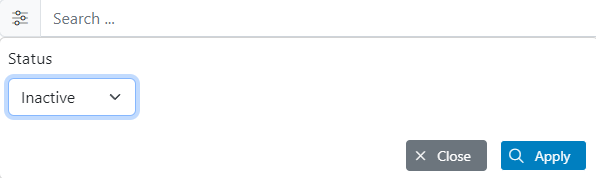
Follow the steps described above to toggle back to “Active” workspaces.
Manage Participants
Select the Node(s) and/or User(s) to which you want to grant access to the content available in your workspace. There are two sections, the first one allows you to add new participating Node(s) and/or User(s), the second one shows the Node(s) and/or User(s) that were previously added.
Node-Level Workspace
User-Level Workspace
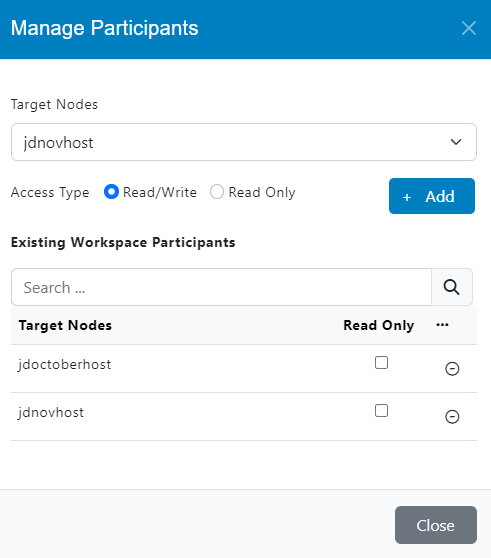
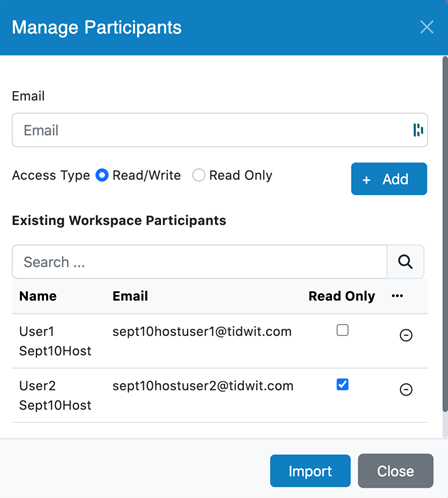
You can set two types of access:
- Read: allows user to List / View / Download content
- Read/Write: allows user to List / View / Download and Upload / Edit / Move / Delete content
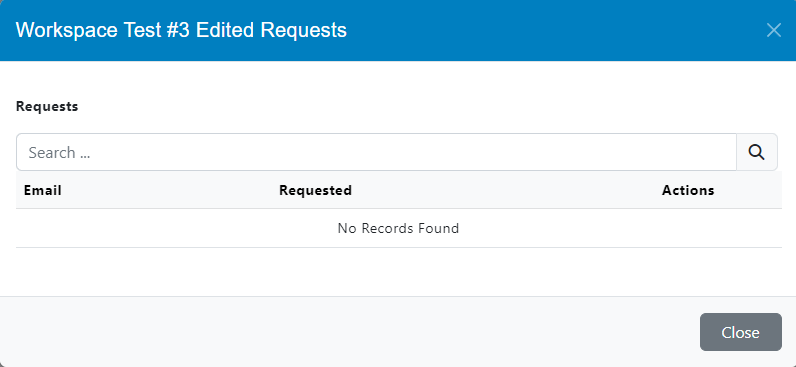
Manage Pending Request
You can receive workspace Read/Write access requests from existing users, and you will have the ability to approve or reject them.
Manage Workspace Admins
You can grant Administrator permissions to specific users. Enter the user email and click the Add button.
Once you have done this, the user will be added to the list immediately.
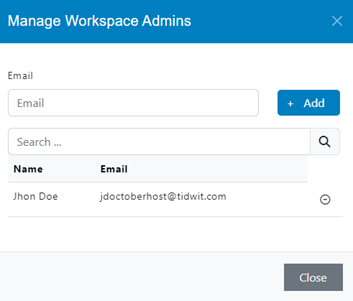
You can remove users from the list if necessary.
Workspace Activity Report
To go to the reports page of a specific workspace, click on the three dots option and select Activity Report.
In the upper left side, you can access the nodes and the different workspaces quickly.

In the upper right side, you can set the dates to generate the report.

Two tabs are available:
Workspace Dashboard
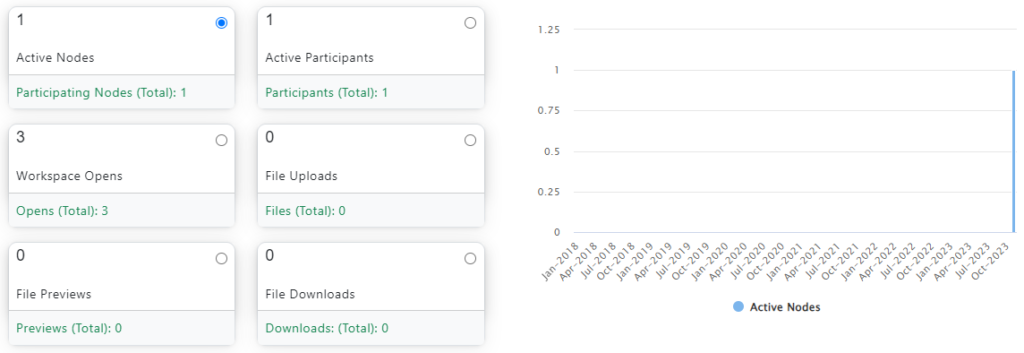
These metrics are:
- Active Node(s): Number of nodes actively using the workspace
- Active Participants: Number of users actively accessing the workspace
- Workspace Opens: Number of times the workspace was opened by users
- File Uploads: Number of files uploaded to the workspace
- File Previews: Number of file previewed from the workspace
- File Downloads: Number of files downloaded from the workspace
The graph will change according to the metrics you define.
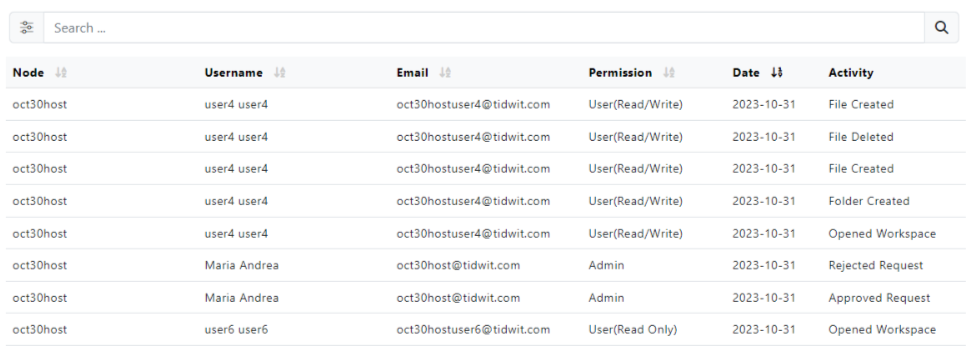
Workspace Details
Below the graphic you will see the View Details button where you can find detailed workspace activities by user, including workspace opens, folder creations, file uploads/updates/downloads etc.