Tags will make the libraries, learning paths and content items easier to search & find by the user. Tags are also very useful for custom reports according to specific levels, topics, products, solution areas, etc.
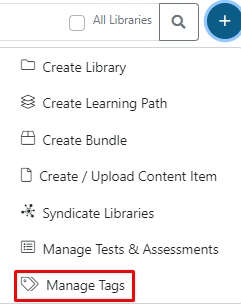
Initially, your node won’t have any created tags. To create new tags, from the ECM window click on the plus icon and then click on Manage Tags.
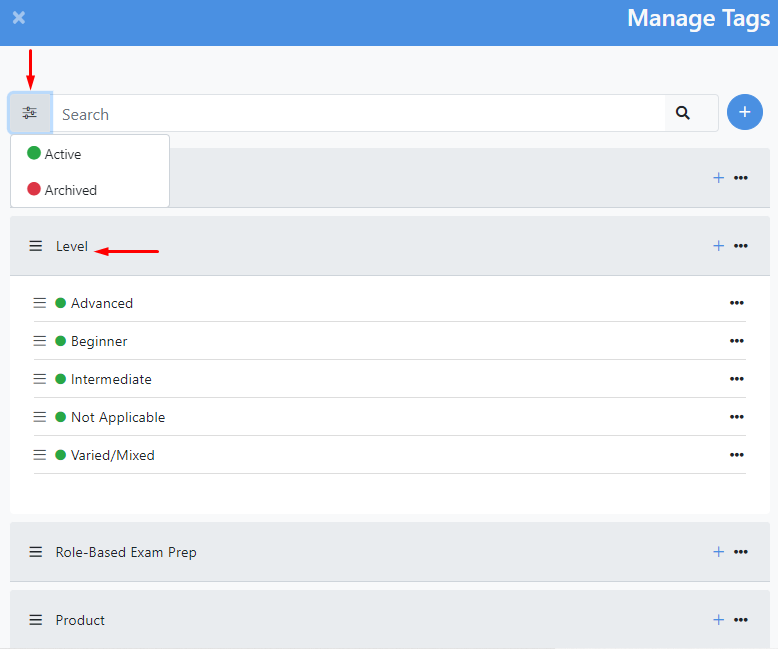
The tag manager will pop up.
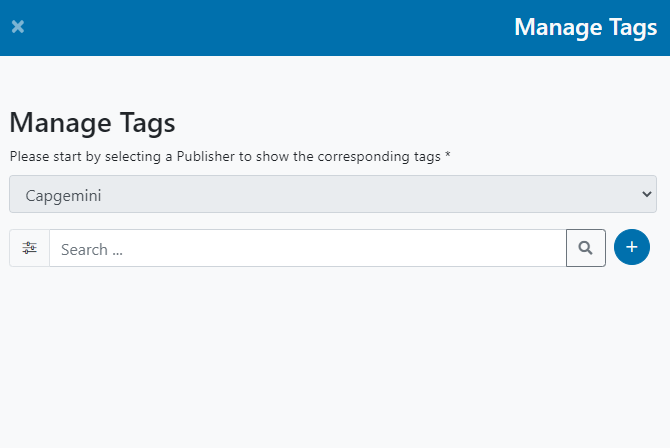
There, you will see a search bar to find tags easily and a Create New Tag button.
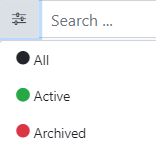
You can filter by All, Active, or Archived tags.
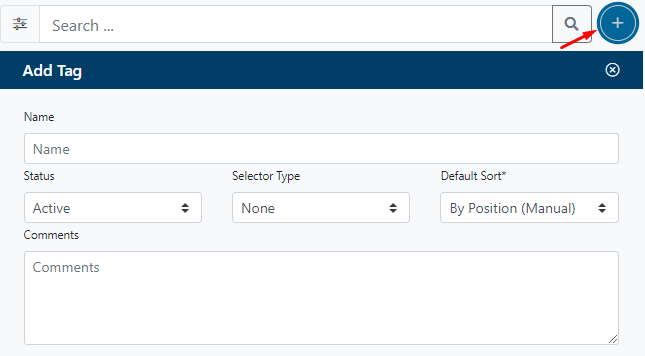
To create a new Tag, click on the plus icon on the right side of the tags searching bar. An Add Tag menu will be displayed; fill in the required fields to create the new tag:
• Name.
• Status (Inactive or Active).
• Selector Type (Dropdown List or Checkbox List).
• Default Sort (By Position, By Name A-Z, By Name Z-A)
• Comments.
Check the options where the tag will be available and required.
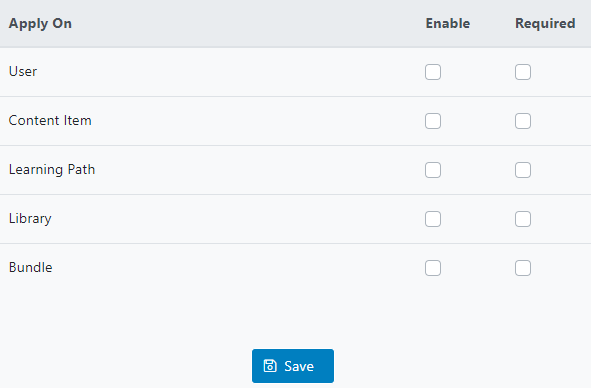
Click on the Save button.
The new tag will now appear on the tags list.

To add values or edit them, follow the instructions below.
Each Tag has a + button to add a new Tag Value and a “three dots” button where you can add a new Value, edit the tag’s properties, and archive the tag.
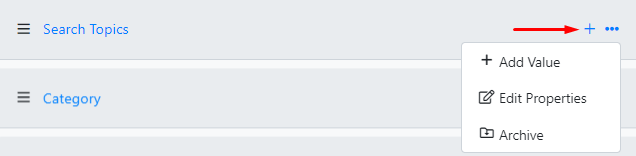
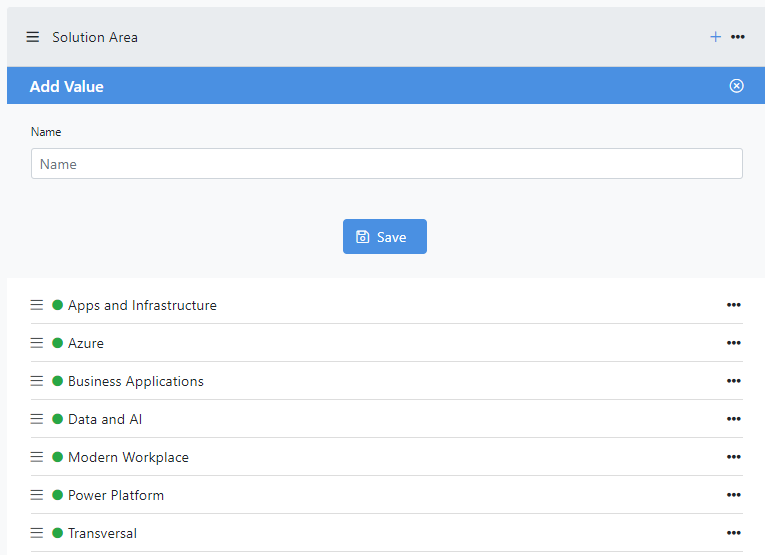
Click on the + button or + Add Value to add a new value to the tag. A list of the tag’s existing values and a “Name” field will appear, write the name of the new value here and click on Save. Now it will be added to the list of values.
Click on the “three dots” button of any value to edit its name.

To edit the properties of an existing tag, click on the “three dots” button and then click on Edit Properties to display a Tag Editor.
You can change the tag’s name, status (Inactive, Active, or Archived), selector type (Dropdown List or Checkbox List), Default Sort, write any comments, and select where this tag will be available and required. Tags may apply to “Users,” “Libraries,” “Learning Paths,” and/or “Content Items.”
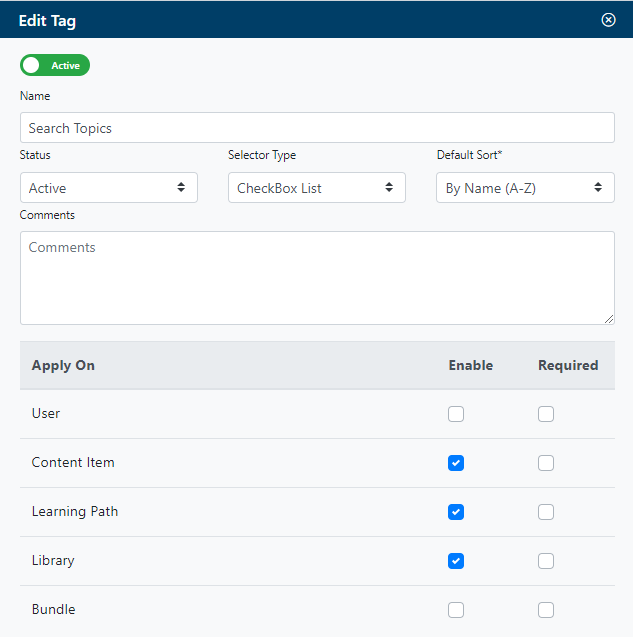
After making desired changes, click on Save.
Click on any tag’s name to open a list of its values.