Sign-in to your TIDWIT Ecosystem
On the upper left corner click on the Menu button. The left-hand side panel will display, and you will see icons corresponding to the different apps and workloads available on TIDWIT. The first three icons correspond to the Users section which is explained in the User Manual. The remaining icons are only visible with an administrator profile. If you can’t see them and you are an administrator, ask your TIDWIT portal administrator to give you the required permissions.

On the upper left corner click on the Menu button. The left-hand side panel will display, and you will see icons corresponding to the different apps and workloads available on TIDWIT. The first three icons correspond to the Users section which is explained in the User Manual. The remaining icons are only visible with an administrator profile. If you can’t see them and you are an administrator, ask your TIDWIT portal administrator to give you the required permissions.
User Groups
To go to the User groups app, place the mouse pointer over the Users icon. Two new tabs will appear, each with different user management functionalities.

Click on the Manage User Groups tab and you will be directed to the User Groups window.
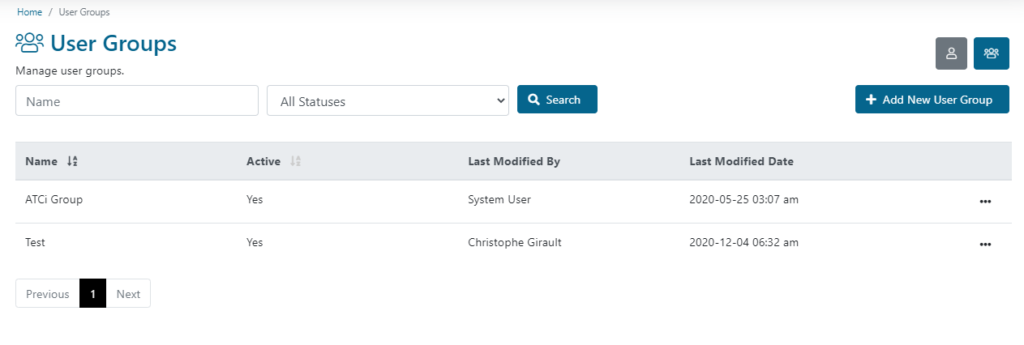
In this window, you will see a search bar and a list of all the User Groups that have been created on your node. The User Groups list will show:
- User Group Name.
- If the User Group is Active or not.
- Last Modified By shows the name of the person who modified the User Group most recently.
- Last Modified Date shows the most recent date when the User Group was modified.
Click on the “three dots” button to the right of each row on the table to see two more options:
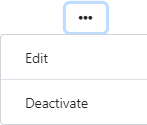
Click on Edit to modify the selected User Group. Go to Steps 2 and 3 of the Creating a New User Group section to see the modifications you can make on a User Group.
Click on Deactivate if the User Group is activated and you want to disable it, or click on Activate if the User Group is deactivated and you want to enable it. In both cases, a confirmation message will show up, click on OK and the change will be applied.