Local Campaigns
To create a new Local Campaign, click on [+] plus button on the upper right corner of the screen then click on Create New Learning Campaign. A modal will be displayed.
Fill in the required information.
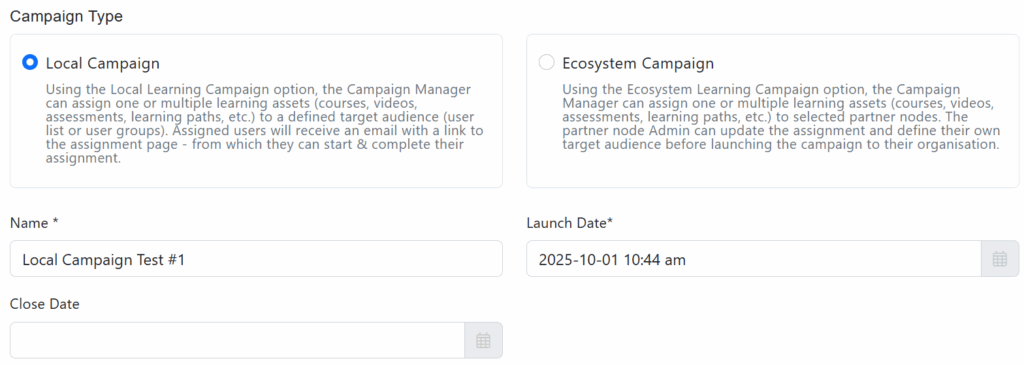
- Campaign Type: Choose Local Campaign from the drop-down menu (this option allows you to assign a bunch of learning assets to a group of users, and track progress/completion).
- Write the name you want to give the campaign.
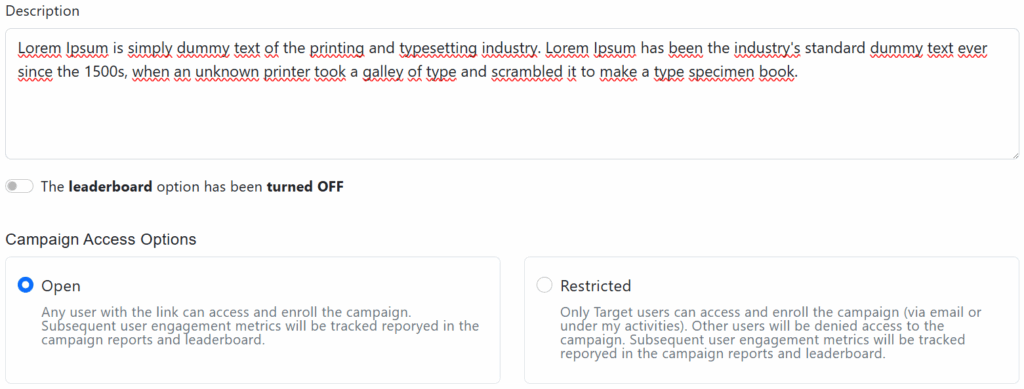
- Write a description for the campaign (optional).
- Select the Launch Date, to define when the user shall be notified – until then, the campaign status will show as “Scheduled to launch…”
- Select the Close Date when the system will stop tracking the campaign.
- Enable or disable the campaign leaderboard (Note: If the leaderboard is enabled the Close Date now is required). Enabling the leaderboard will help you gamify the campaign, by adding a count-down and a leaderboard table (with most engaged users) on top of the campaign landing page.
- Select the Campaign Access Options according to your needs:
Open: Any user with the link can access and enroll the campaign.
Restricted: Only target users can access and enroll the campaign (via email or under my activities).
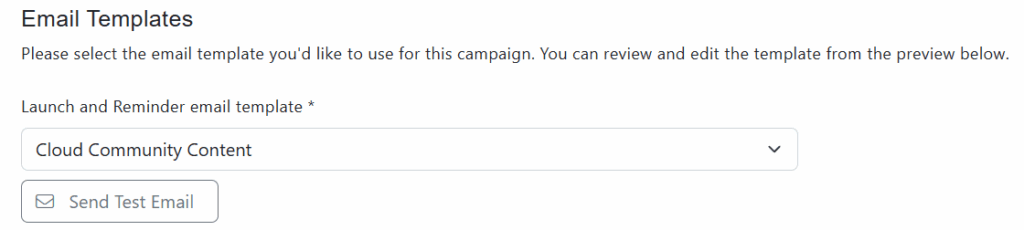
In the drop-down menus select the templates for the Launch email and for the Reminder email. Then click on Save. Email templates can be created and edited separately using the “Email Templates” application (refer to the corresponding user guide).
Click on the Save button.
After clicking on the Save button two new tabs will appear Content and Target Audience.

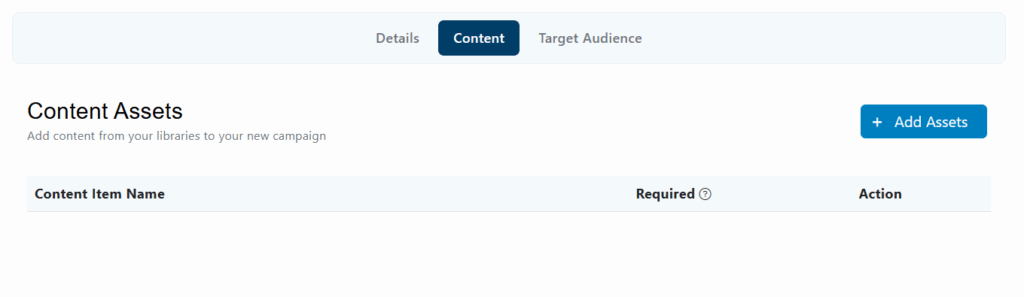
Content tab
Click on the Content tab, it allows you to add content to your Campaign, like: Learning Pats, Content Items and Bundles.
Note: Make sure the status of the content you are adding is “Published”.
Click on the + Add Assets button and select the type of content you want to add to the campaign (For this example, we will add Content Items).
A new window will appear.
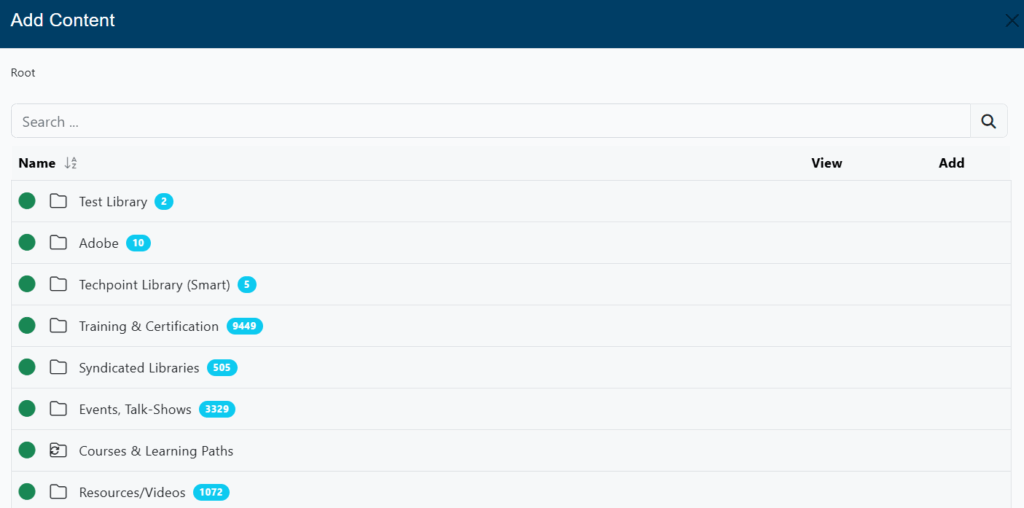
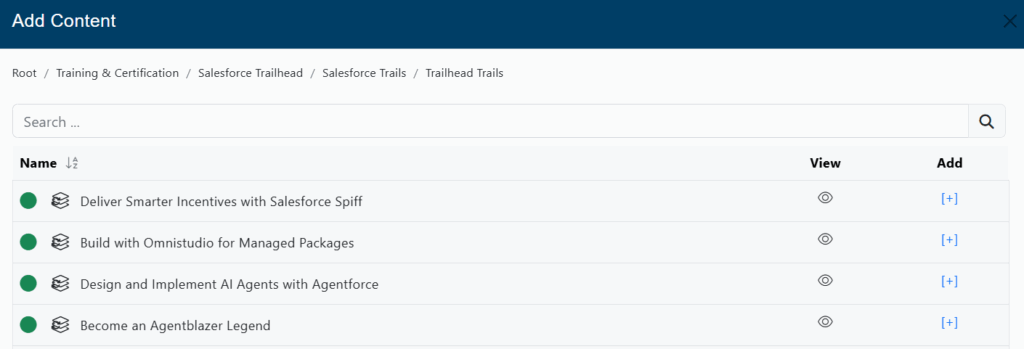
You can navigate through all the available libraries. Also, you can find any content using the Search Bar. Click on the plus [ + ] button to add content one by one or click on the + Add All button to add all the available content.
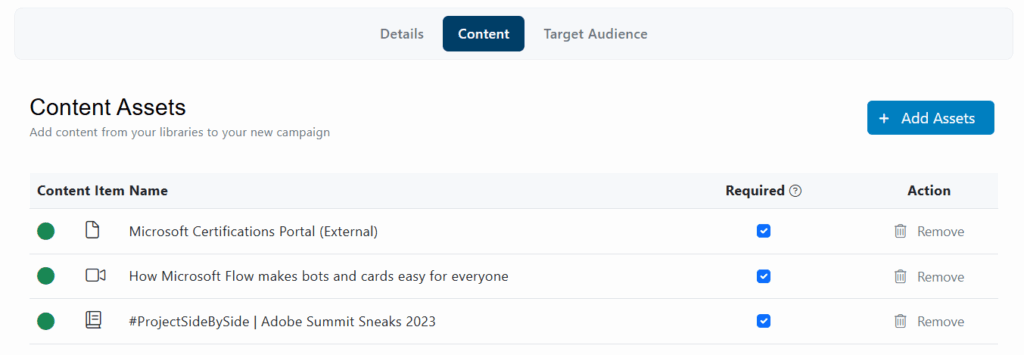
After adding one or multiple assets, close the window. You will see the list of campaign assets; you can define if the content is required or not (only required assets will be considered for the completion of the assignment). You can also remove any asset if necessary, by clicking the remove button [-].
Click on the Save button.
Click on the Next button.
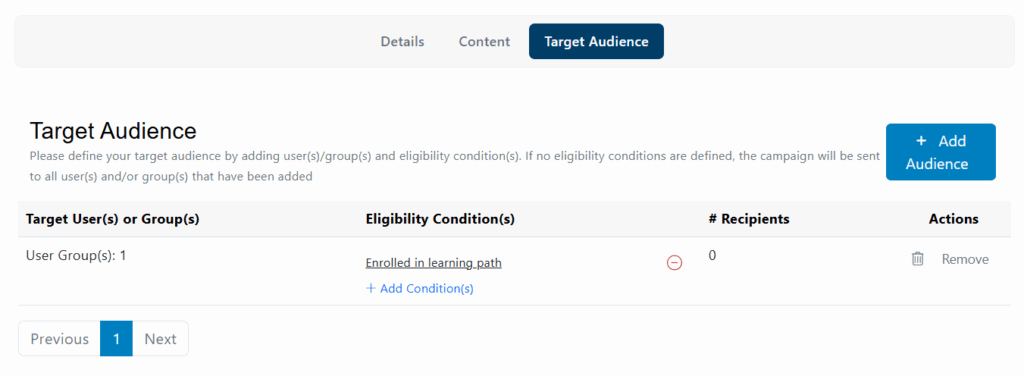
Audience tab
In this tab you can define the different conditions, users or groups of users that will be able to access the campaign.
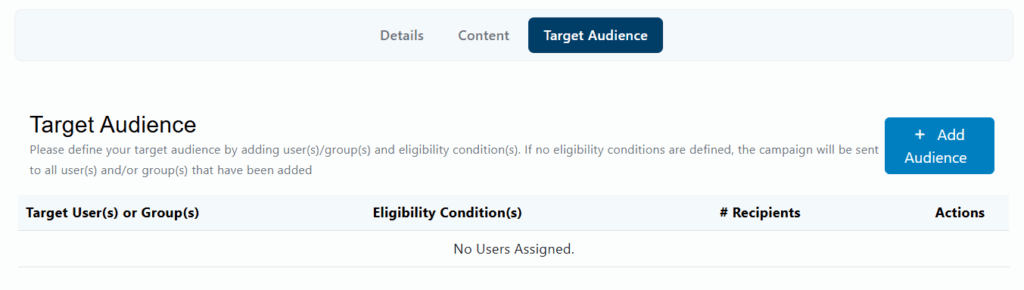
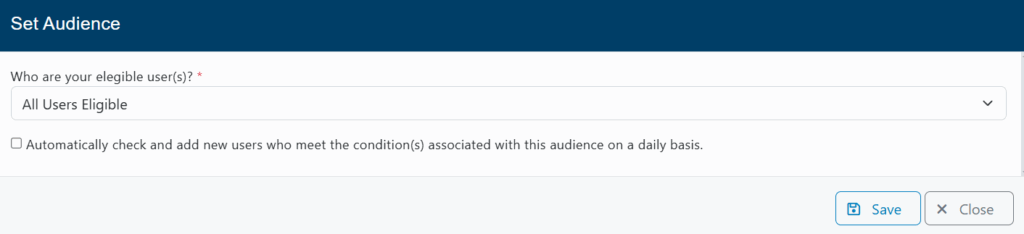
Set Audience
- All Users Elegible: The campaign will be sent to all users and will be accessible for everyone.
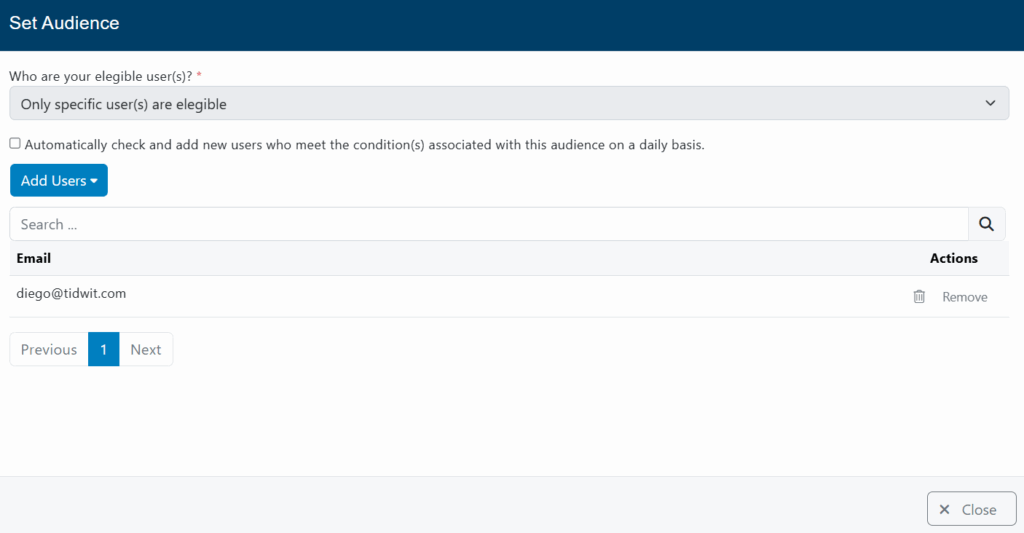
- Only specific user(s) are elegible: The campaign will be sent to all users and can be accessed by selected users.
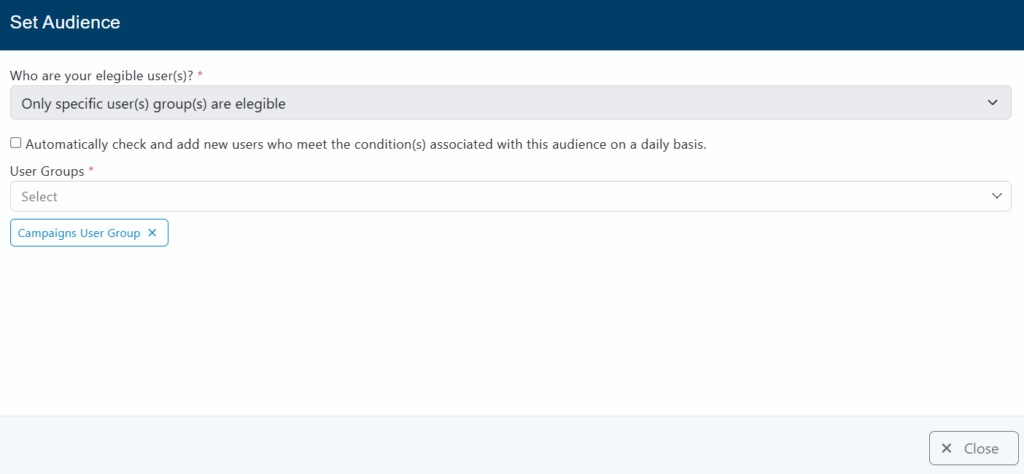
- Only specific user(s) group(s) are elegible: The campaign will be sent to all users and can be accessed by selected user groups.
Conditions
Send the campaign to users who meet specific conditions:

Click on the + Add Condition(s) link and a new modal will be displayed.
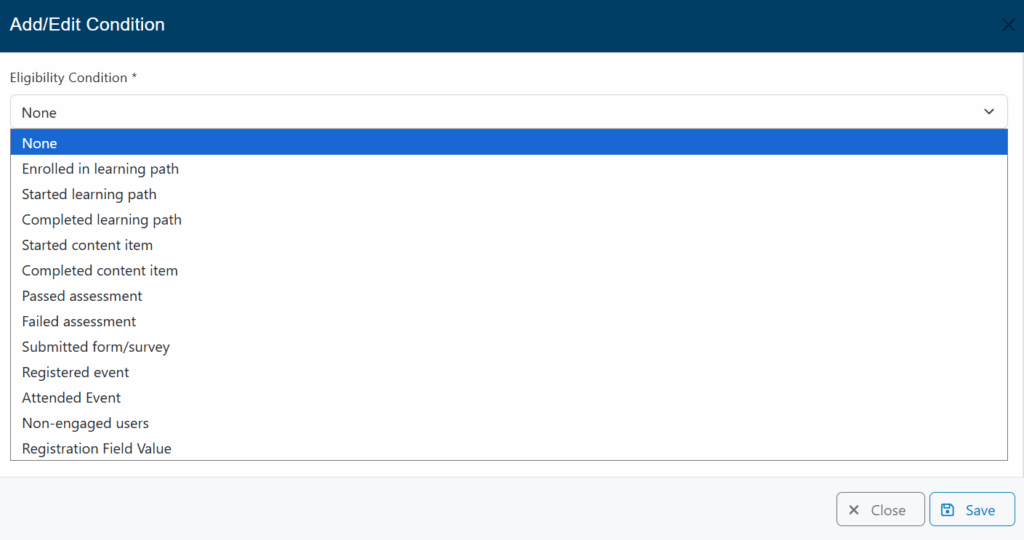
Select the condition and the required asset for the campaign.
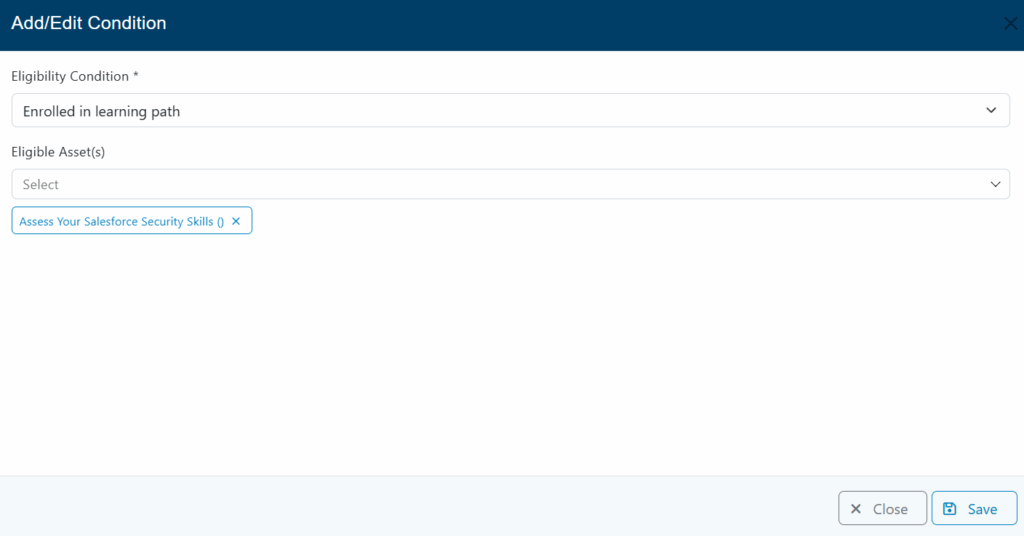
After selecting the condition and eligible users, click Save and the campaign will be ready to launch.
Note: You can add as many conditions as needed.
Send Test Email
To test your learning campaign before launching. return to the Details tab and scroll down to the Send Test Email button.
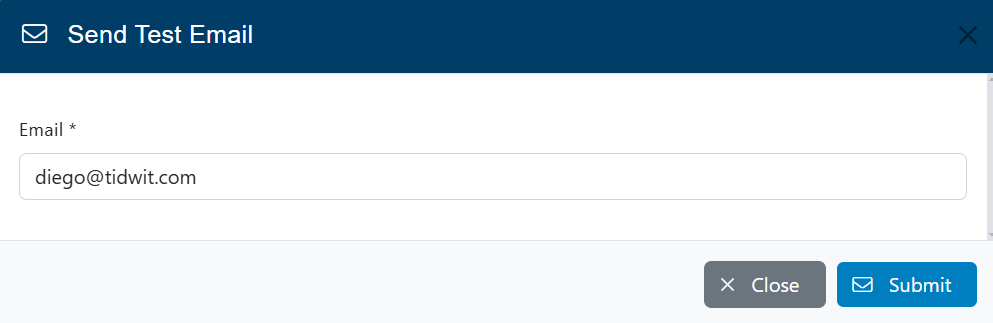
Type the email address where you want to send the Test Email and click on Submit.
Verify that you have received the test email as it should be.
Launch the Campaign
Click the Launch button and confirm.
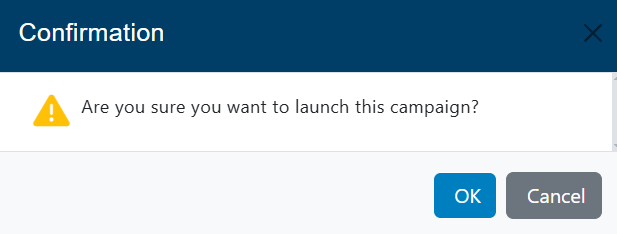
The campaign will now be activated and the users will be notified (via email and messaging center) according to the selected launch date.
Ecosystem Campaigns
Ecosystem campaigns have the same properties as the local campaigns described above. The main and most important difference is that this type “push” the campaign to one or multiple partner nodes downstream and each downstream node can then launch the campaign to their own internal target audience.
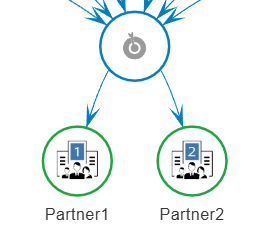
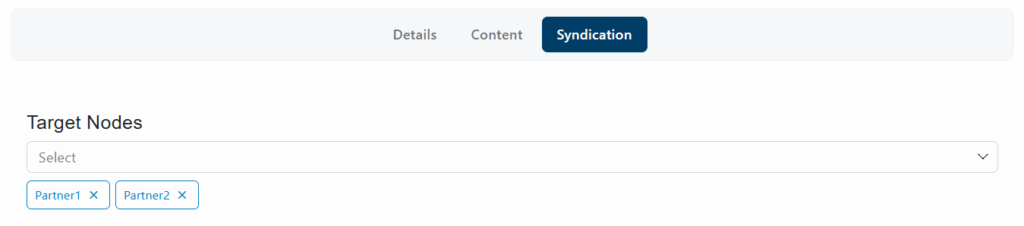
The Syndication tab will be enabled, where you can select one or more sub-nodes to launch the campaign.
Select the nodes you will send the campaign to. (Nodes should have been added before, check the Ecosystem Orchestration documentation).