The User Roles module allows administrators to manage the various roles that can be assigned to users within the platform. Roles define the level of access and the type of permissions a user has when interacting with the platform.
Accessing the User Roles Module
To access the User Roles module:
1. Navigate to Node Users section.
2. Click on the Roles tab located in the top navigation bar.
You will be directed to a view where all existing user roles are listed (if any). The list shows the following details:
– Name of the role
– Whether it is Active
– Number of Users assigned to the role
– The user who Last Modified the role
– The Last Modified Date
If no roles have been created, the table will display “No Records Found”.

Creating a New Role
To create a new role:
1. Click the Add Role button located at the top right of the Roles tab.
2. A new form will appear where you must provide the following information:
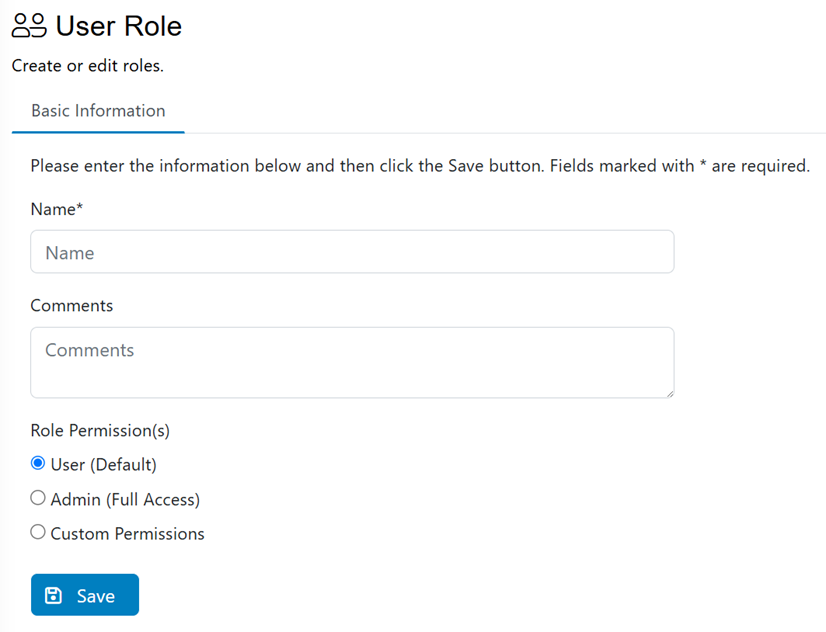
Basic Information
– Name*: Enter the name of the new role. This field is mandatory.
– Comments: Optionally, add comments or a description of the role.
Role Permission(s)
Select the level of access for the role:
– User (Default): Basic access to the platform.
– Admin (Full Access): Full administrative access to all system functionalities.
– Custom Permissions: For advanced configurations where specific permissions will be set manually.
3. Click the Save button to create the new role.
The User Roles module is essential for defining the structure of user access and responsibilities. It enhances security and control by allowing precise permission management through predefined or custom roles.