Sign-in to your TIDWIT ecosystem instance:

In the upper left corner click on the Menu button. The left-hand side panel will display, and you will see icons corresponding to the different apps and workloads available on TIDWIT. The first three icons correspond to the Users section which is explained in the User Manual. The remaining icons are only visible with an administrator profile. If you can’t see them and you are an administrator, ask your TIDWIT portal administrator to give you the required permissions.
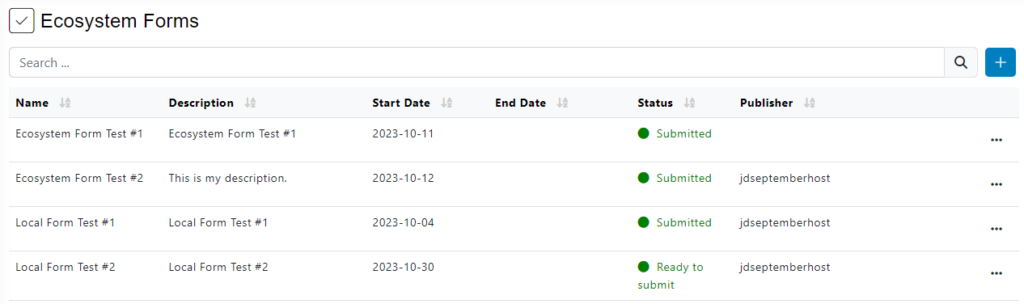
Forms Main Page
To go to the Forms page, place the mouse pointer over the Forms, Surveys & Polss icon, click on the Ecosystem Forms option and you will be redirected to the Forms main page. The first thing you will see is a list of all the created Forms to date and their status:
Create a new Local Form
To create a new Local Form, click on [ + ] plus button on the upper right corner of the screen then click on New Form. A new window will be shown.
Fill in required information.
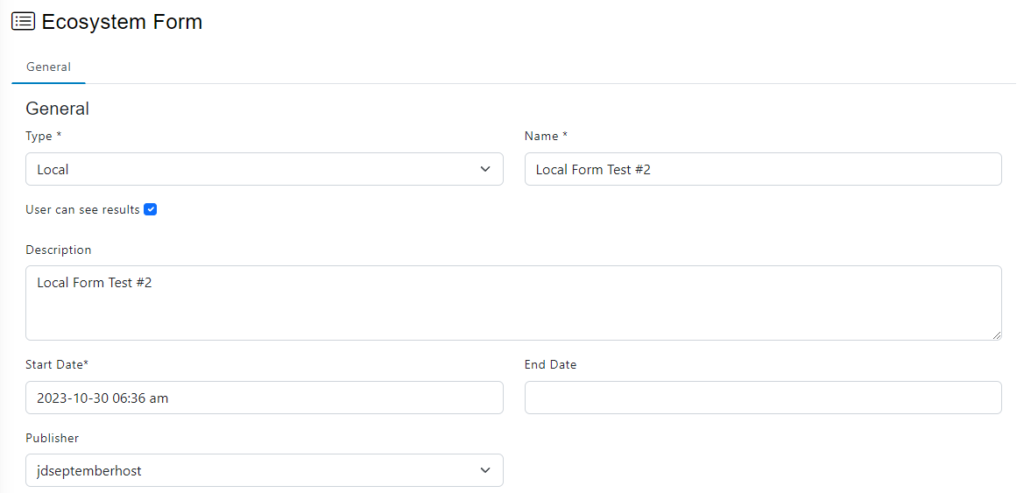
- Type: choose Local Form from the drop-down menu.(This option allows you to send athe form to a group of users).
- Write the Name you want to give the Survey.
- Check de box if you want the usersto see the results.
- Write a description for the Form (optional).
- Select the Start Date, to define when the emails will start being sent out.
- Select the End Date when the system will stop tracking the Form (optional).
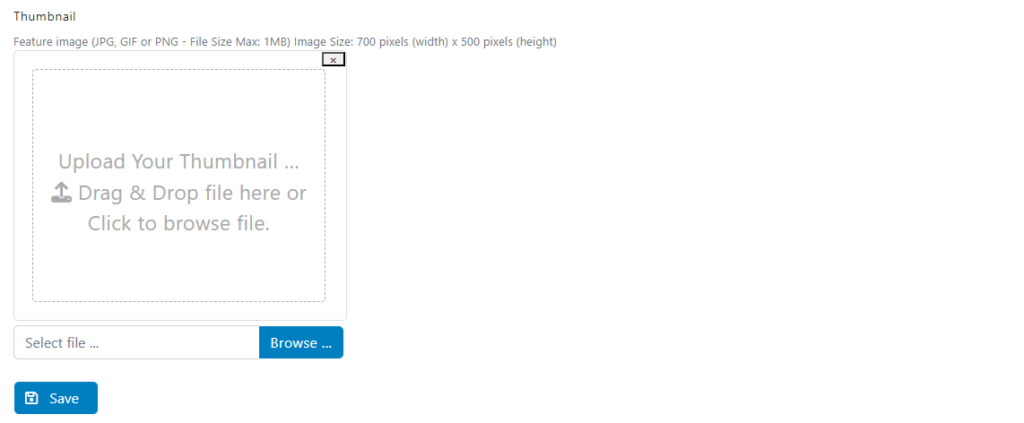
- Upload a thumbnail (optional).
Click on the Save button.
After clicking on the Save button three new tabs will appear Audience, Fields and Email.

Audience Tab
In the Audience tab you will select the user groups to which the Form will be send.
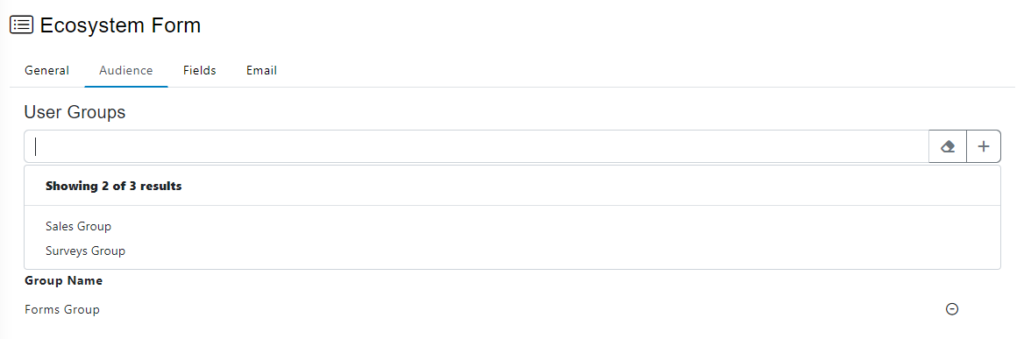
You can add one or more user groups by clicking on the [ + ] button. You can also remove groups by clicking on the [ – ] button. (Groups should have been created before, check the Users Groups documentation).
Once you have added the corresponding user groups, go to the next tab.
Fields Tab
In the Fields tab you can set up the different types of questions to be shown in the form.
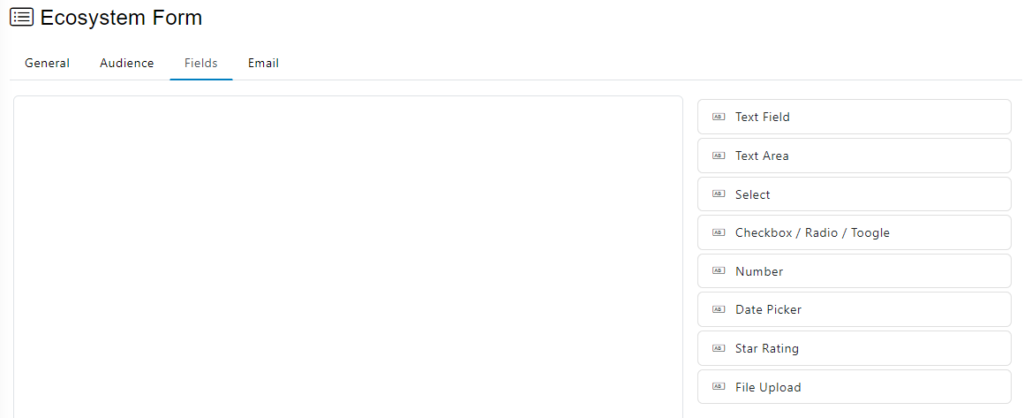
You can elaborate the form with structured data (names, last names, address, date, etc.) in the corresponding sections, to be saved and processed later by the assigned users. Remember that you can add as many fields as you need.
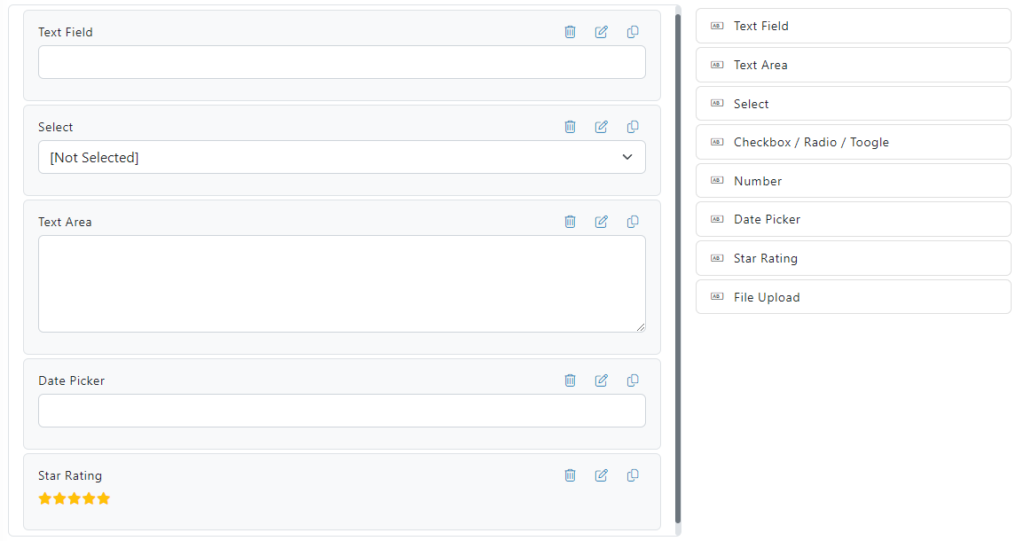
- Text Field Allows you to enter alphanumeric characters and punctuation marks. You can customize the field name, the field placeholder, the maximum and minimum number of characters and set if it is mandatory.
- Text Area is a form element that allows the user to type text on multiple lines and can contain, by default, an unlimited number of characters. You can customize the field name, placeholder, maximum length, numbers of rows and set if it is mandatory.
- The Select fields allows the users to choose one of the multiple options available in the list. You can customize the name, the group of options and set if it is mandatory.
- The Checkbox allows the users to select one or more options from a group. Generally, you should show each checkbox option in a vertical list. You can customize the type, name, placeholder, the group of options and set if it is mandatory.
- Number field allows you to enter characters from 1 to 9 plus commas. You can customize the field name, field placeholder, field maximum and minimum number of digits and set if it is mandatory.
- The Date Picker type field allows us to select a specific date and time. Clicking on the field will open a calendar where you can easily select the date, below you can select the time. You can customize the field name and set if it is mandatory. This type of field cannot be filled in manually.
- Star Rating is a type of rating question that allows users to evaluate attributes on a 5-point scale represented by stars. You can customize the field name and set if it is mandatory.
- File Upload allowsthe users to share files on your web site in a very simple way. You can customize the field name and set if it is mandatory.
Once you have added the fields, go to the next tab.
Email Tab
In the Email tab, you can choose the Email Template from the drop-down list. (Check the documentation related to mail templates).
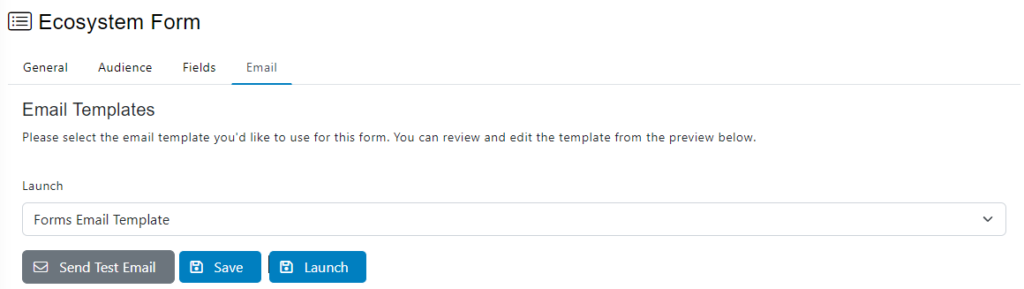
Send Test Email
To test your Local Form before launching, on the lower left side click on the Send Test Email button.
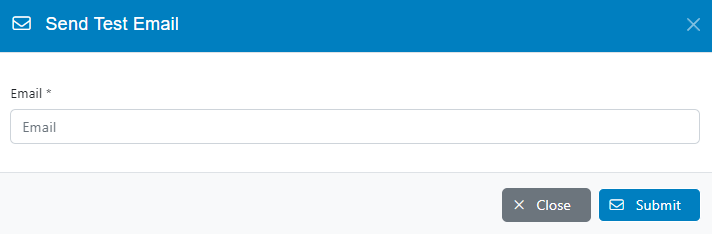
Type the email address where you want to send the Test Email and click on Submit.
Verify that you have received the test email as it should be.
Click on the Save button.
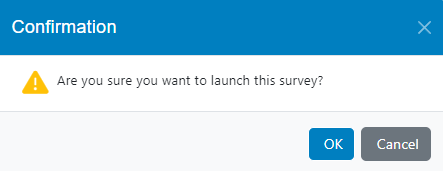
Launch
To send the form you must click on the Launch button, this will send it to the users who belongs to the previously selected groups.
The Local Form will now be activated, and the email blast will be sent according to the defined start date.