Sing-in to your TIDWIT ecosystem instance:


In the upper left corner click on the Menu button. The left-hand side panel will display, and you will see icons corresponding to the different apps and workloads available on TIDWIT. The first three icons correspond to the Users section which is explained in the User Manual. The remaining icons are only visible with an administrator profile. If you can’t see them and you are an administrator, ask your TIDWIT portal administrator to give you the required permissions.
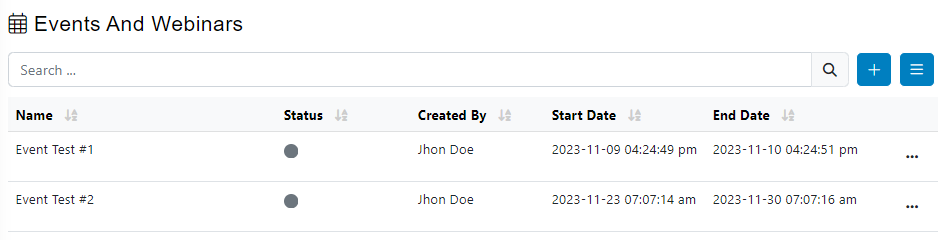
Events and Webinars Main Page
To go to main page, place the mouse pointer over the Event and Webinars icon, click it and you will be redirected inmediately. The first thing you will see is a list of all the created Event and Webinars to date and some of its properties.
Create a new Event
To create a new event, click on [ + ] plus button on the upper right corner of the screen then click on New Event. A new window will be shown.
Fill in required information.
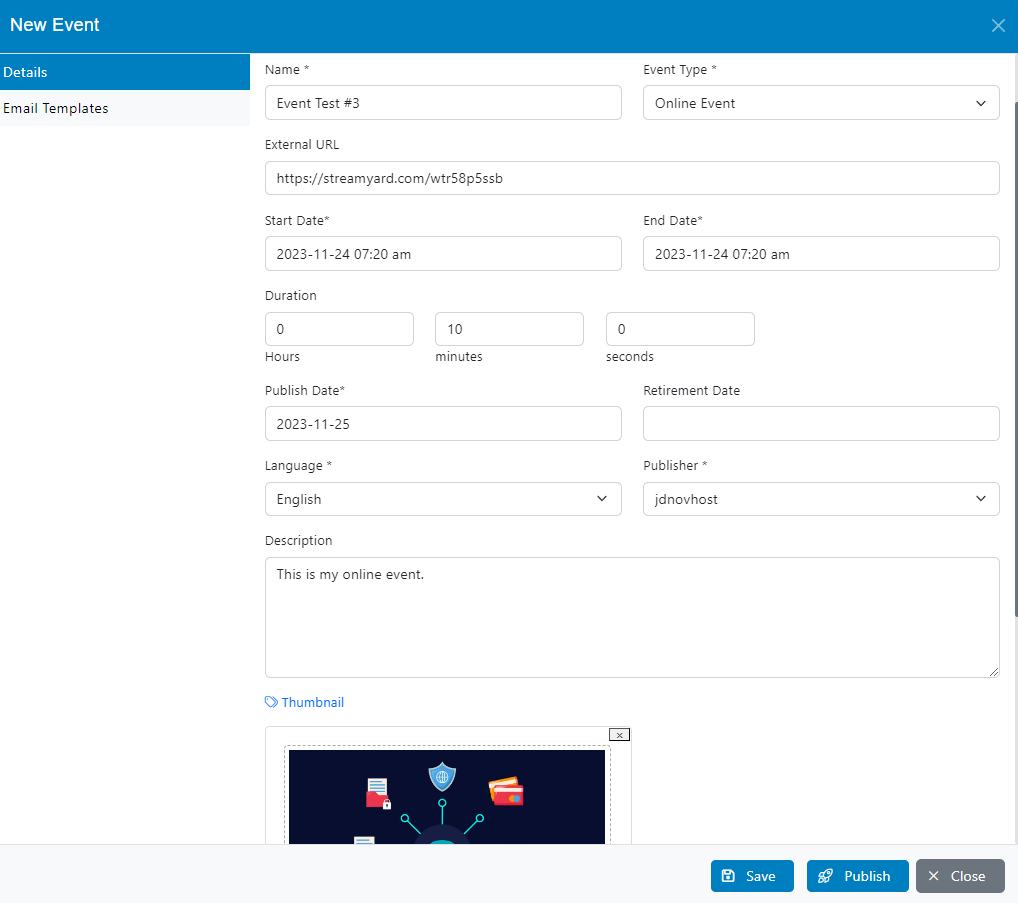
- Write the Name of the event
- Event Type, there are two types of events you can choose from the drop-down menu:
- Online Event allows you to add the external URL to be used to stream the online event
- Webinar allows you to add the external URL to be used and pre-select the conferencing system (Must have been previously created)
- External URL is the online transmission access link
- Set the Start Date to define when the event will start
- Set the End Date to define when the event will finish
- Publish Date specifies when the event was officially released
- Retirement Date specifies when the event will be officially removed
- Select the event’s main Language
- From the drop-down menu select the Publisher
- Write a Description for the event, this field is optional
- Upload a Thumbnail, this field is optional
Click on the save button.
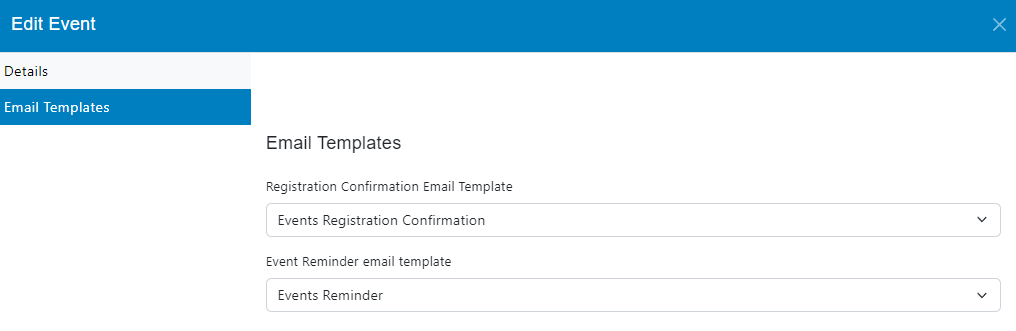
Email Templates tab will be available, choose the email template from the drop-down list. (Check the documentation related to mail templates).
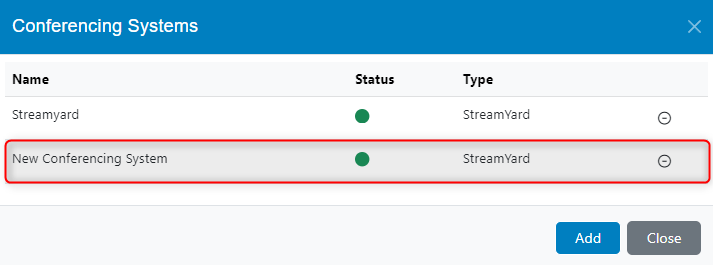
Create a new Conferencing System
Click on [ + ] plus button on the upper right corner of the screen then click on Conferencing Systems. A new window will be shown.

Click on the Add button and fill in the required information.
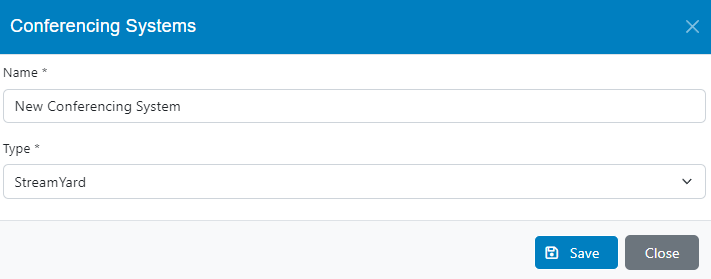
Click on the save button and close the wizard. The new conferencing system will be created right away.