Sign-in to your TIDWIT Ecosystem instance:

En la esquina superior izquierda haga clic en el botón de Menú. Se mostrará la barra lateral izquierda y verá los iconos correspondientes a las diferentes apps y secciones de trabajo disponibles en TIDWIT. Los tres primeros iconos corresponden a la sección de usuario que se explica en el Manual de UsuarioLos otros iconos sólo son visibles con un perfil de administrador. Si no los ve y es administrador, pida a su administrador del portal TIDWIT que le de los permisos necesarios.
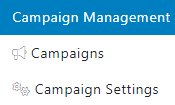
Campañas
Para ir a la sección de Campañas section, place the mouse pointer over the Campañas icon. You will be able to choose between two options: Campañas e Campaigns Settings, each with different functionalities.

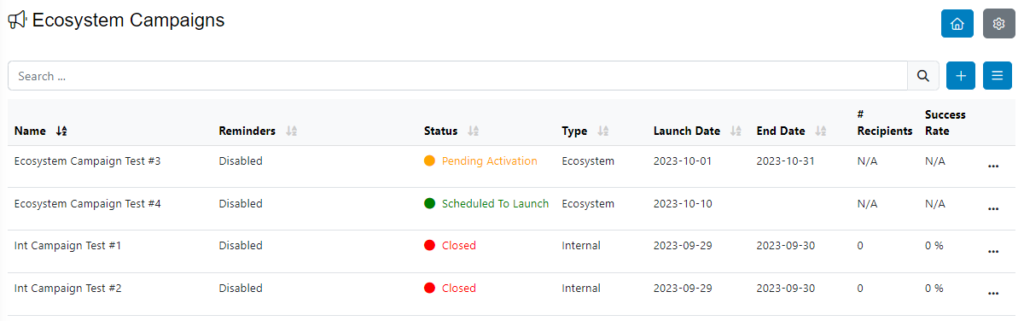
Haga clic en la opción Campañas option and you will be redirected to the Campañas main page. The first thing you will see is a list of all the created campaigns to date and their status:
Create a new Campaign
To create a new Ecosystem Campaign, click on the [ + ] plus button on the upper right corner of the screen then click on Create New Campaign. A modal will be displayed. Fill in the required information.

- Campaign Type: choose Ecosystem Campaign from the drop-down menu. (This option allows you to send a campaign to a group of nodes).
- Write the name you want to give the campaign.
- Write a description for the campaign (optional).
- Select the Launch Date, to define when the emails will start being sent out.
- Select the Close Date, when the system will stop tracking the campaign.
- Haga clic en el botón Guardar.
After clicking on the Guardar button three new tabs will appear Content, Correo Electrónico e Syndication.

Content tab
Haga clic en la opción Content tab, it allows you to add content to your Campaign, such as Learning Paths, Content Items e Bundles.
Nota: Make sure the status of the content you are adding is “Published”.

Haga clic en la opción + Add Assets button and you can select the type of content you want to add to the campaign (For this example, we will add a Content Item). A new window will appear.
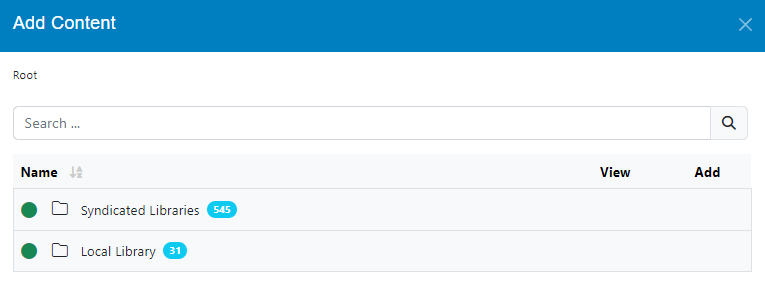
You can navigate through all available libraries. You can also use the search bar to find specific content.
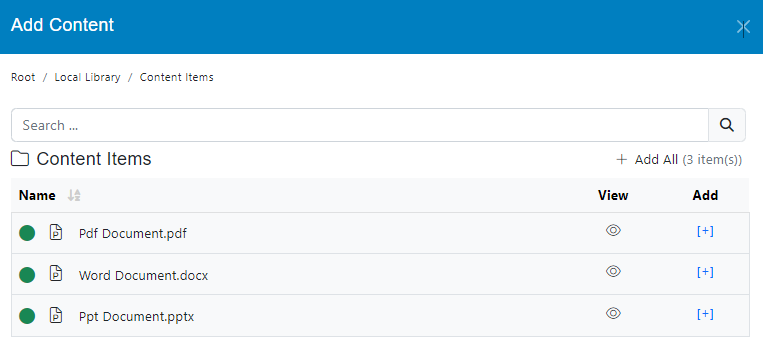
Click on the plus [ + ] button to add content one by one or click on the + Add All button to add all the listed content.
Close the window and you will see the recently added content, you can define if the content is required or not. You can also remove any content item if necessary by clicking the remove button [ – ].

Haga clic en la opción Next .
Email tab
In the drop-down menus select the templates for the Launch email and for the Reminder email. Then click on Save. Email templates can be created and edited separately using the “Email Templates” application (refer to the corresponding user guide).

Haga clic en la opción Next .
Syndication tab
Select the nodes you will send the campaign to and add them using the [ + ] button. (Nodes should have been added before, check the Orquestación del Ecosistema documentation).

Send Test Email
To test your learning campaign before launching. return to the Set-Up tab and on the lower right corner click on the Send Test Email .
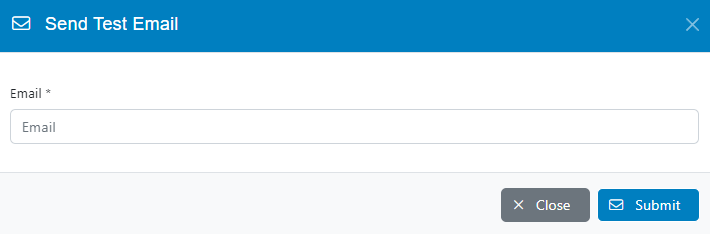
Type the email address where you want to send the Test Email and click on Submit.
Verify that you have received the test email as it should be.
Activating the campaign
Haga clic en la opción Launch button, this will send the Ecosystem Campaign to the selected nodes.
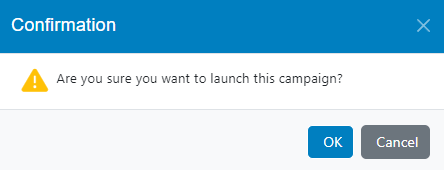
The campaign will now be activated, and the email blast will be sent according to the defined start date.